Access management settings
The Access Management settings allow users to manage project members and their permissions. This section consists of three main parts:
- Public access management
- Users list
- Roles management
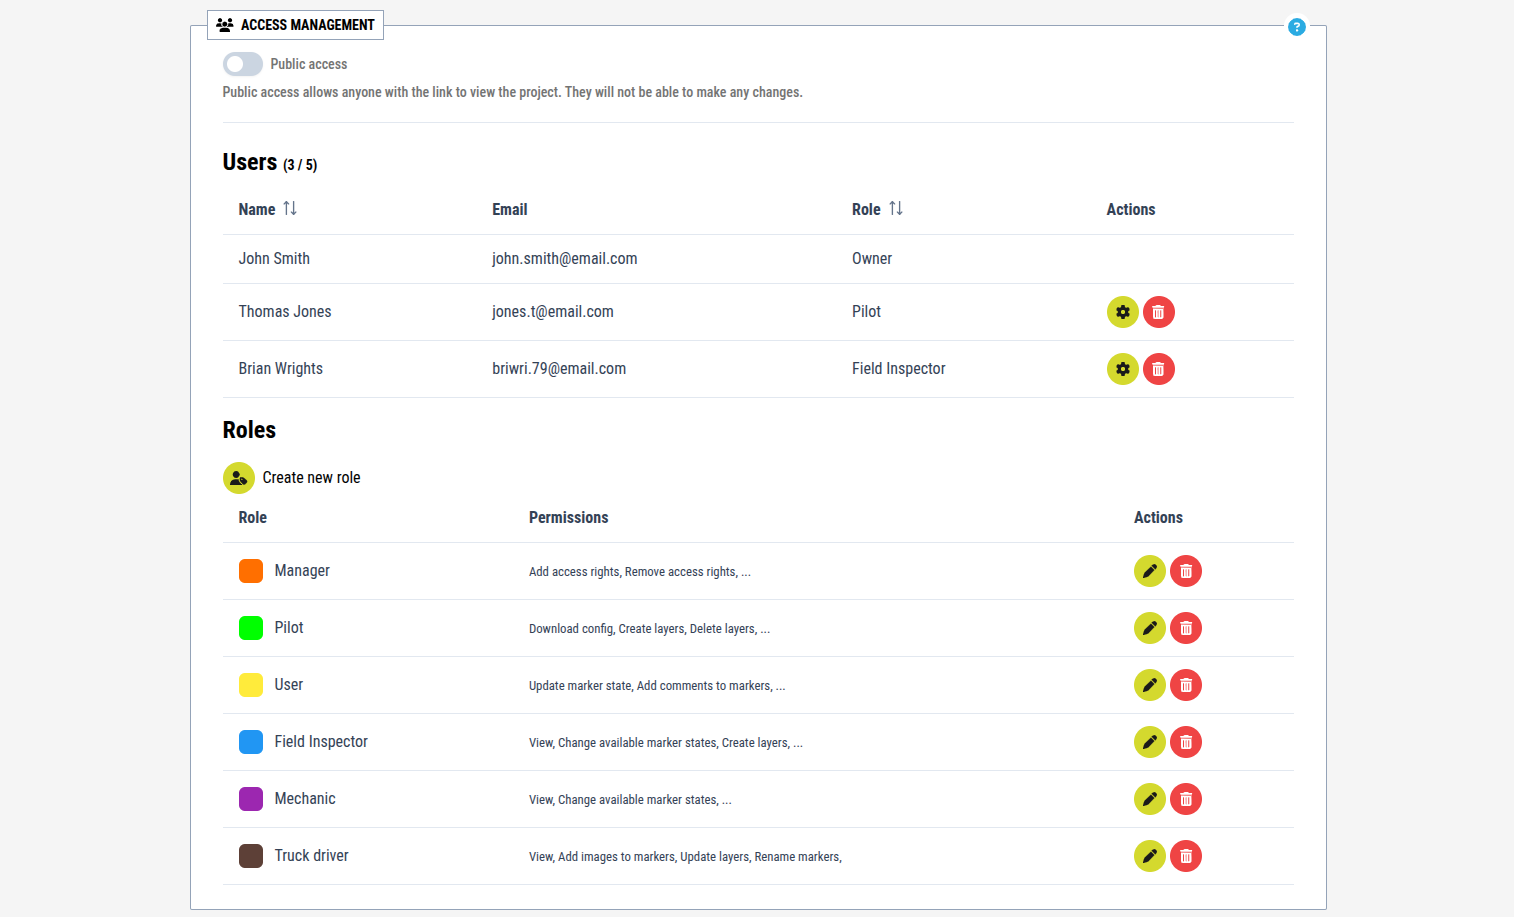
[An example of how the Access Management settings section might look like]
1. Public access management
This section determines whether users without an account can access the project. It also provides the tools to share access if enabled.
The main control element is the switch next to the "Public access" label.
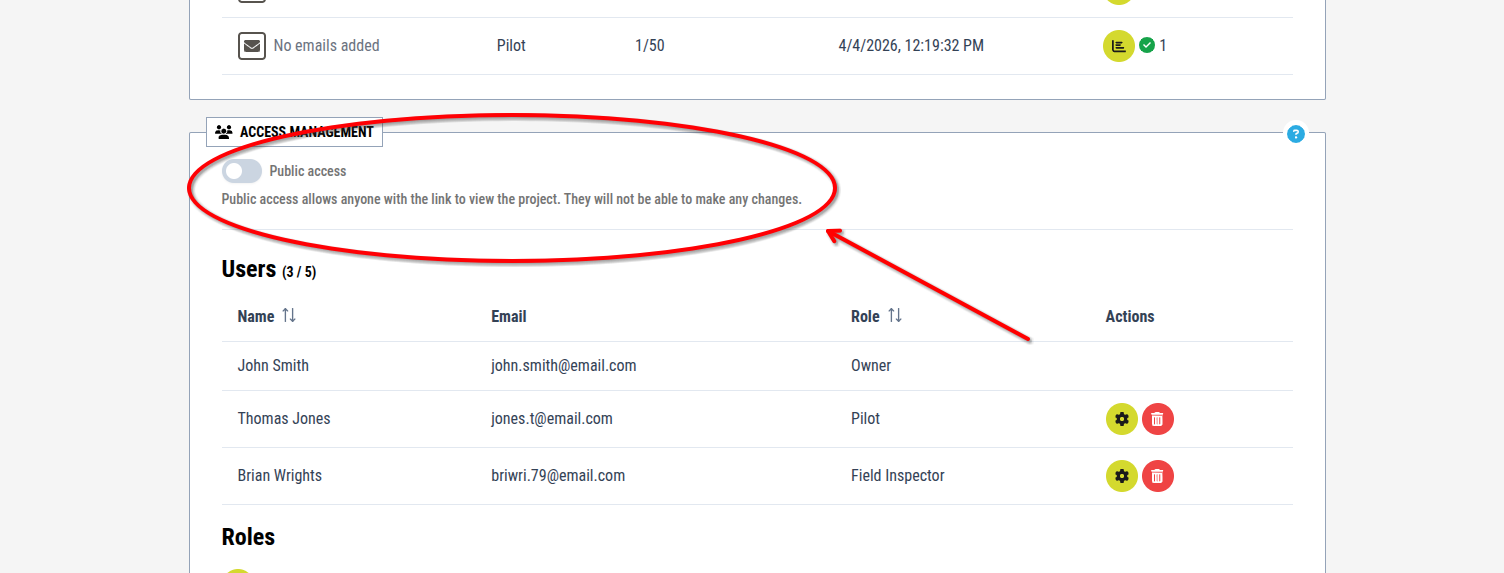
[The public access section of the Access Management settings]
1.1. Turn public access ON / OFF
- Click the switch next to "Public access"
- The state of the Public access is changed to the oposite option
1.1.1. Public access turned OFF
(The switch is positioned to the left and displayed in grey)
Users without an account cannot access the project.
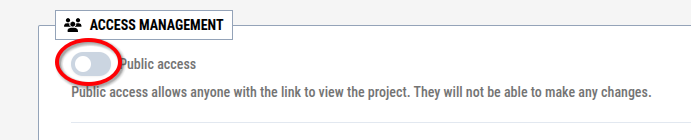
[Showcase of how the switch looks when turned off]
1.1.2. Public access turned ON
(The switch is positioned to the right and displayed in green)
Users without an account can access the project in Guest mode.
When enabled, two additional options appear:
- Public access URL
- QR code
These can be shared with others to allow them to access the project as Guests without an account.
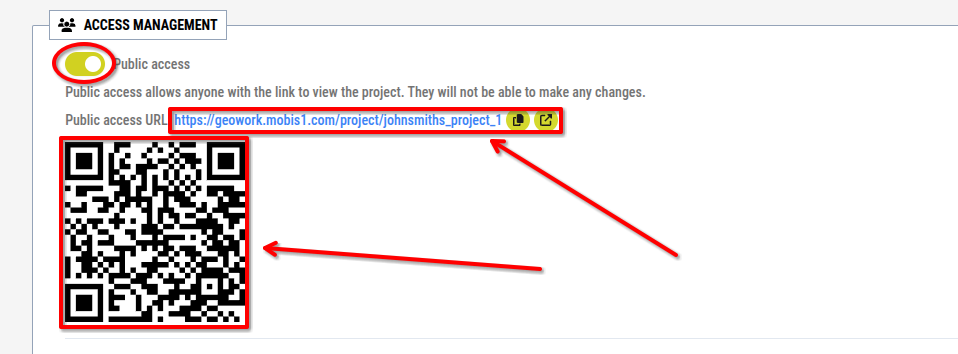
[Showcase of how the switch looks when turned on, with the additional URL and QR code appearing below]
2. Users list
Below the Public Access section is a list of all users currently in the project. Each row represents one user and contains:
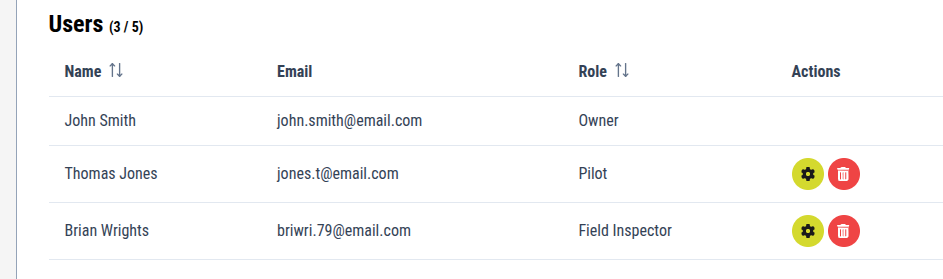
[An example of how the users list may look like]
2.1. Sorting the list
The name and role column include arrows that allow sorting the list.
To sort the list:
- Click the arrows next to the column name you want to sort by
- The users list is now sorted by the category next to which you clicked the arrows
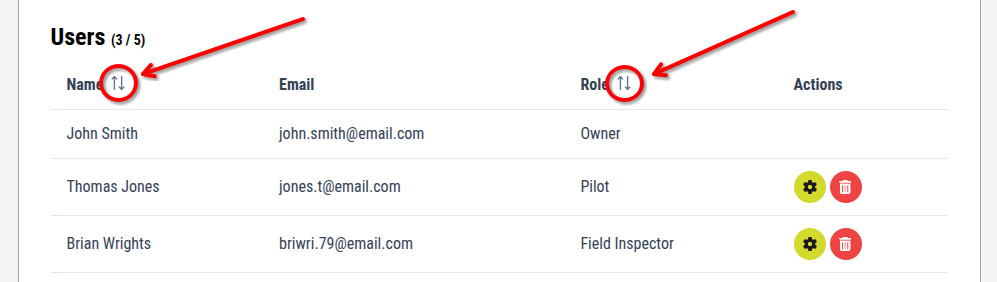
[Showcase of the arrows buttons for sortage of the list]
2.2. Actions
Each user row (except the Owner’s) contains two Action buttons used to manage that user.
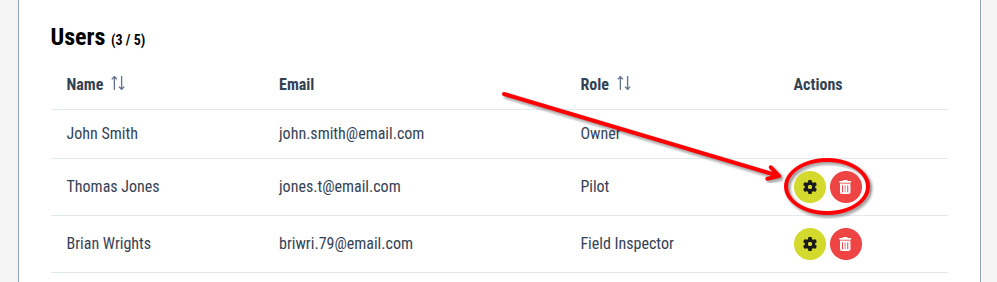
[Showcase of the Actions buttons]
2.2.1. Settings action button
This button allows you to change a user’s role.
To change a role:
- Click the settings icon in the user’s row
- A "Change Role" window may appear
- Select a role from the dropdown menu
- Click the "Change Role" button
2.2.2. Delete action button
This button removes the user from the project.
To remove a user:
- Click the trash icon in the user’s row
- The user is removed from the project
Removing a user from a project does not permanently block them. They can be invited again and rejoin without restrictions.
3. Roles management
This section is used to create, edit, and delete roles within the project. It consists of:
- Create new role button
- Roles list
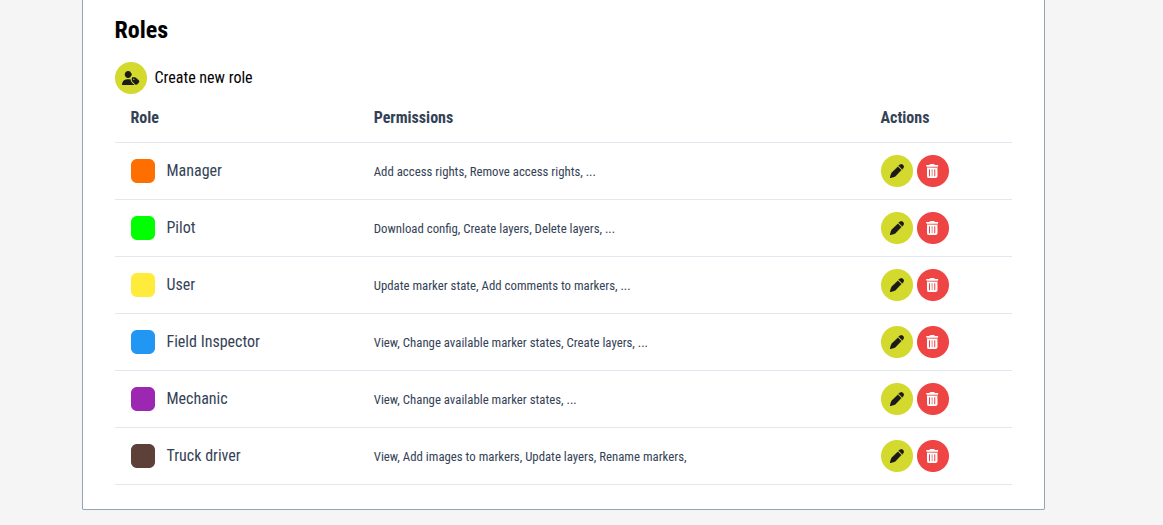
[An example of how the roles management section may look like]
3.1. Create new role button
To create a new role:
- Click the "Create new role" button
- Enter a name for the role
- Select a color for the rolee
- Check or uncheck permissions as needed
- Click the "Save role" button
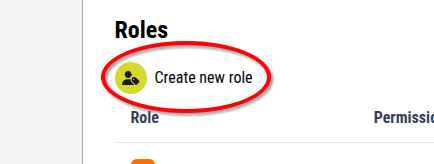
[Showcase of the Create new role button]
3.2. Roles list
Below the "Create new role" button is a list of all roles in the project. Each row contains:
- Role name and color
- A preview of selected permissions
- Action buttons
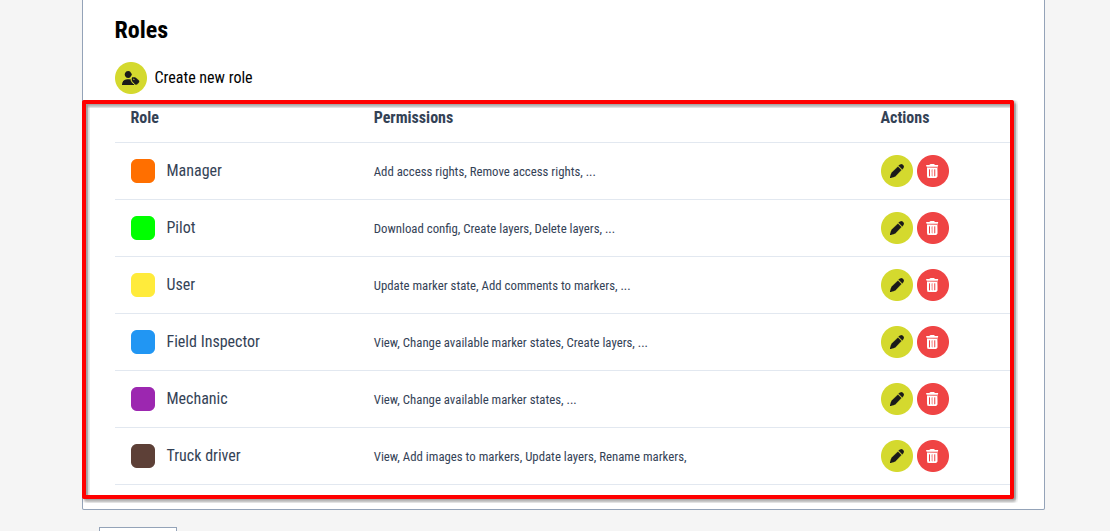
[An example of how the roles list may look like]
3.2.1. Actions
These buttons allow management of existing roles.
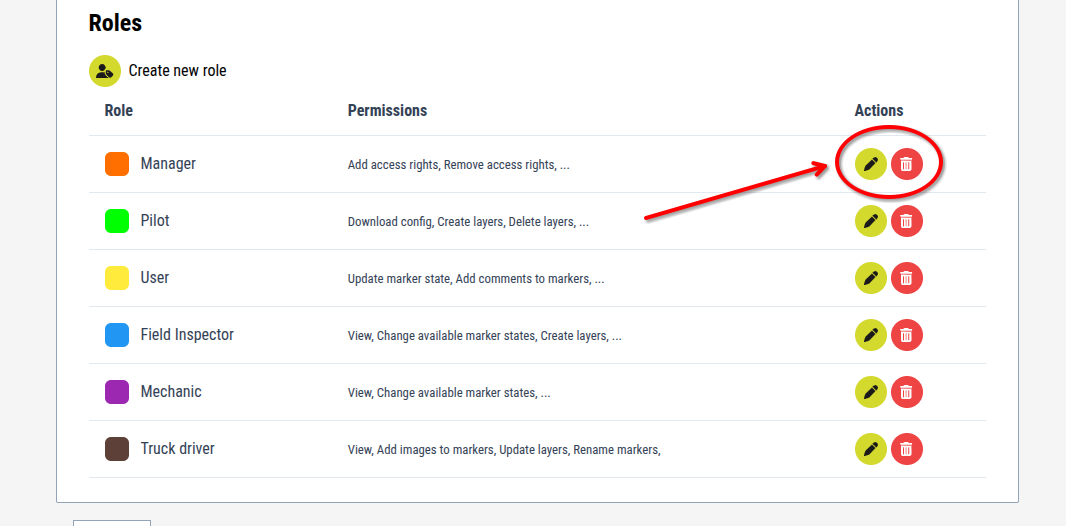
[Showcase of the Actions buttons]
3.2.1.1. Edit action button
To edit a role:
- Click the edit (pen) icon in the role’s row
- Modify the name, color, or permissions as needed
- Click the "Save role" button
3.2.1.2. Delete action button
To delete a role:
- Click the trash icon in the role’s row
- Confirm or cancel the action in the "Delete role" window
- The role is deleted
Deleting a role is permanent and cannot be undone. If needed later, the role must be recreated manually. Proceed with caution.