Layers
In GeoWork projects, layers represent additional data displayed over the map. This data is collected and stored in a compatible format so it can be visualized in relation to real-world locations.
Layers are commonly used to display data captured by drones or other sources. This can include visual imagery or analytical data tied to geographic positions. Each layer has a specific type, which determines what kind of data it represents.
For example:
- RGB layers display standard visual imagery
- NDVI layers display vegetation health
Layer types
- RGB - RGB layer type is mostly used for capturing the visual information of the area.
- NDVI - NDVI layer type is used for capturing the vegetation health.
- Thermo - Thermo layer type is used for capturing the temperature of the area.
Layer styles
- Raster - Raster style is used for displaying the layer as a raster image with no additional styling.
- Other styles - Other styles are used for displaying the layer with additional styling. These styles are provided by system admin and can change over time. You can see the available styles in the dropdown menu when creating a new layer with their color representation.
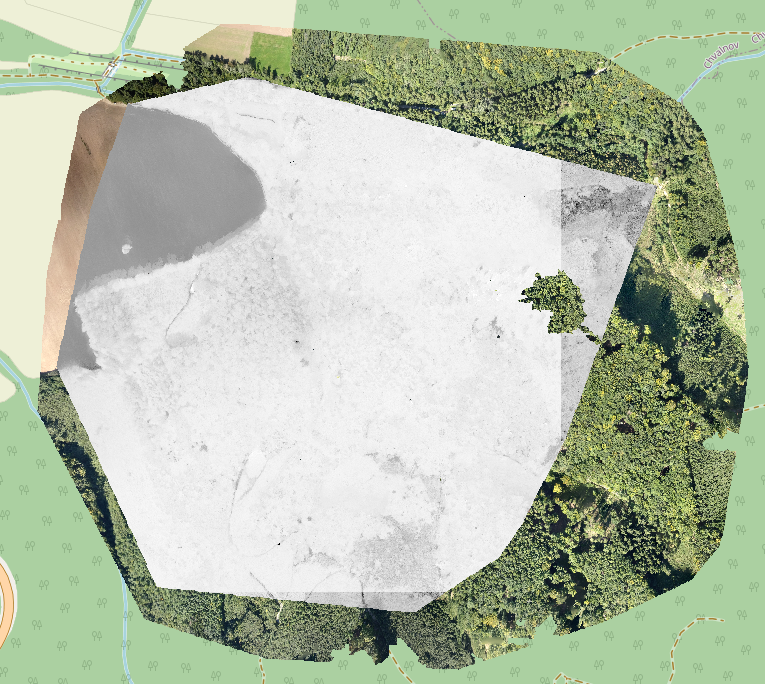
Here is an example of how the layer would look like with raster style, that means no additional styling is applied. The layer is displayed "as is."
Here is an example of how the layer would look like with colorizing style, that means additional styling is applied. The layer is displayed with additional styling.
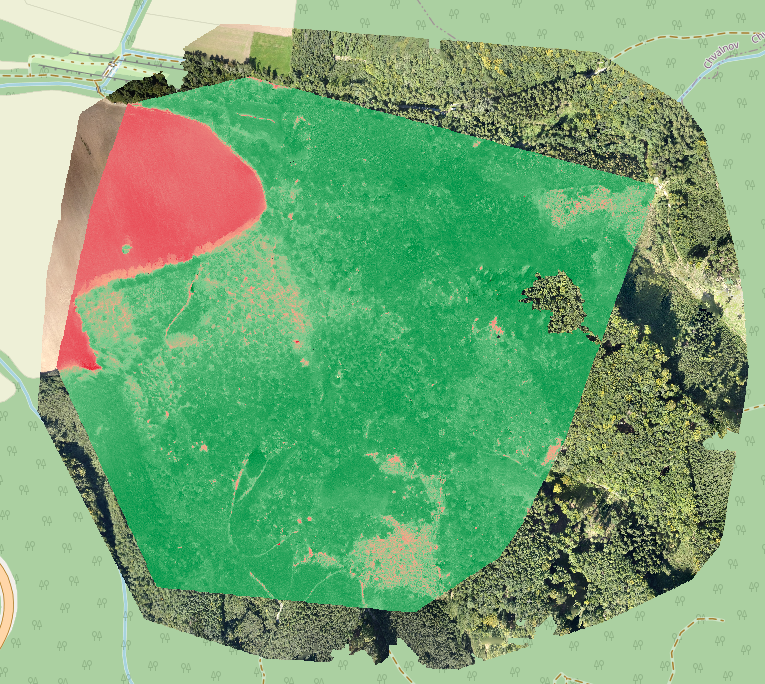
The bottom layer in both images is the same, and is displayed with raster style, because it is a RGB layer, which doesn't need any additional styling. As we can see every layer can have different style, which depends on the layer type and the data it contains.
How to remove a layer
- Go to the project dashboard - Go to the project dashboard, where you can see all your projects and project you are part of.
- Click on the project - Click on the project you want to remove a layer from.
- Look for the layer you want to remove - Look for the layer you want to remove in the project sidebar in the layers section.
- Click on the "Trash" icon - Click on the "Trash" icon next to the layer name. The layer will be removed from the project.
This action can't be undone, so be careful when removing layers.
Changing layer style for existing layer
- Go to the project page - Go to the project page, where you can see all your layers.
- You can see dropwn menu with styles - Click on the dropdown menu with styles, which is next to the layer name.
- Select the style you want to apply - Select the style you want to apply to the layer. The layer will be updated and showwn with the new style.
Note that changing the style of the layer doesn't change the style of the layer permanently. The layer will be displayed with the new style only for the current session. If you want to change the style permanently, you need to reupload the layer with the new style.
Changing layer visibility
- Go to the project page - Go to the project page, where you can see all your layers.
- You can see the checkbox next to the layer name - Click on the checkbox next to the layer name. The layer will be hidden from the map. Click on the checkbox again to show the layer on the map.
- Changing layer opacity - You can change the layer opacity by moving the slider under the layer name. The layer will be displayed with the new opacity.
Changing layers view date
You can change the view date by sliding in the bottom of the map. You will then see the newest available layer for the selected date. This is useful when you want to compare the data from different dates. To change the slider range you can use the plus and minus buttons next to the slider. If there are no layers available for the selected date, the map will be empty.
Also keep on mind that layers in the sidebar are sorted by the date, so only the newest layer of every layer catghory is displayed on the map and in the sidebar. If you want to see all layers, check the "Show inactive layers" checkbox in the sidebar layers section.