Groups settings
Scrolling to the third category, or clicking the corresponding button in the project settings navigation bar, opens the Groups settings section.
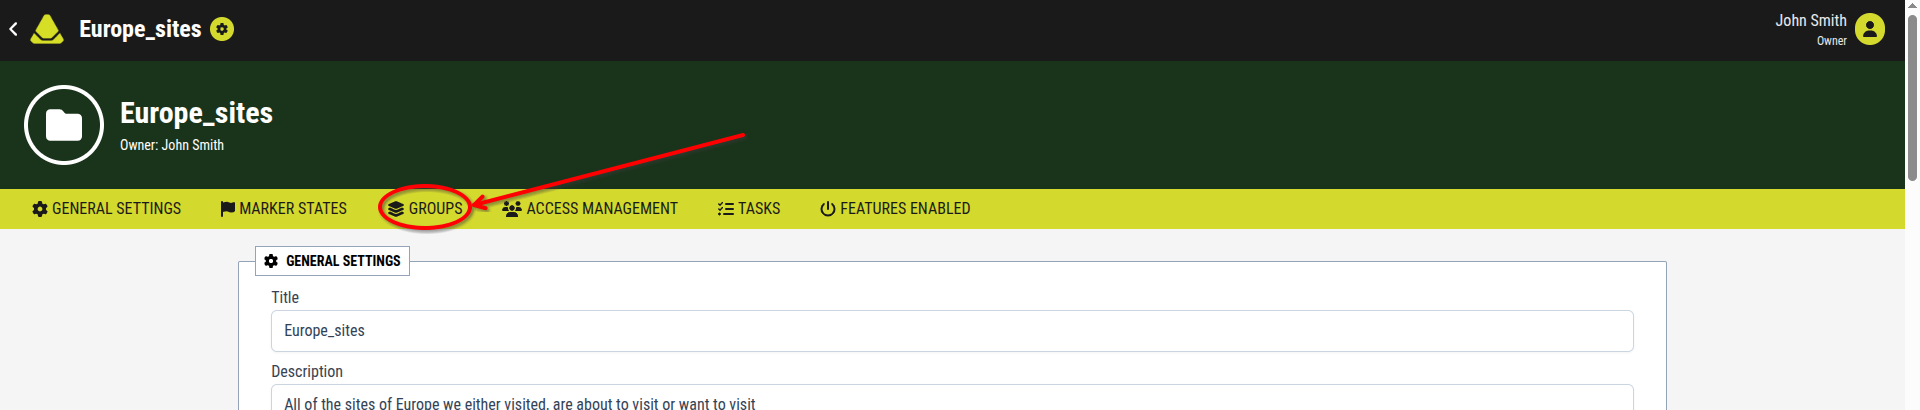
[Showcase of the Groups settings category button in the project settings]
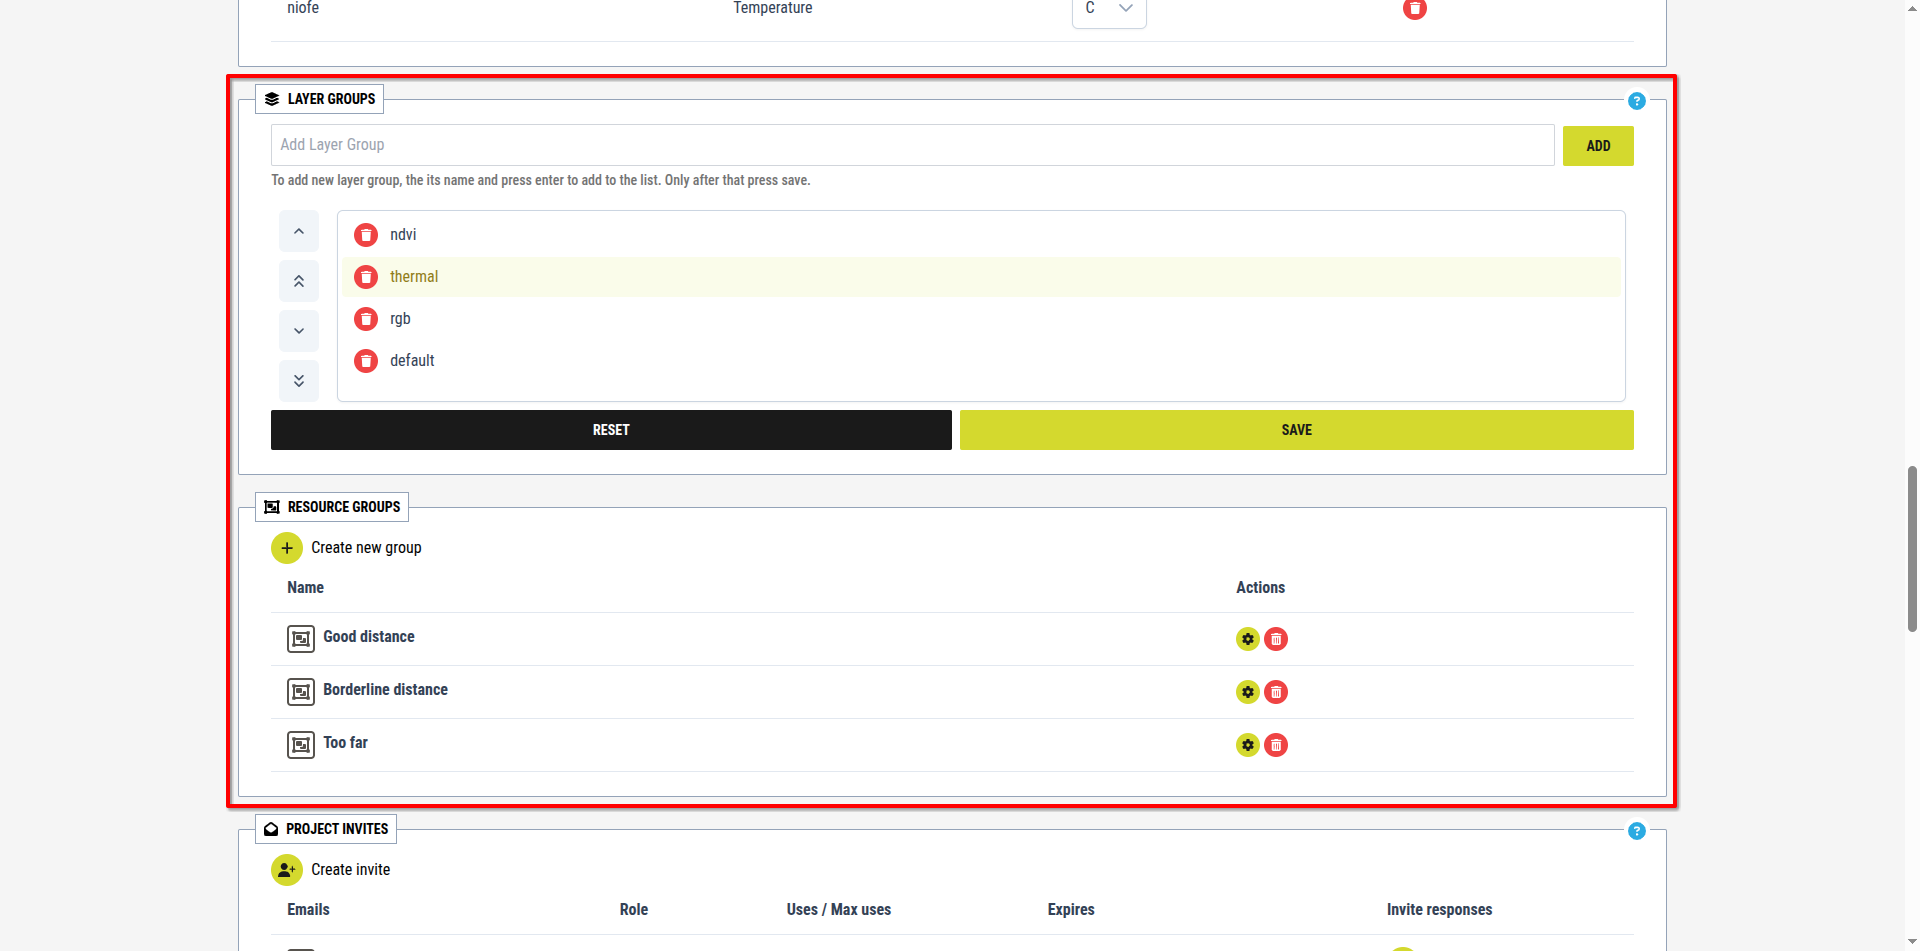
[Showcase of the Groups settings page in the project settings]
This section is used to manage groups for both layers (layer groups) and markers (resource groups). Groups created here are then available throughout the project and can be used to organize layers or markers.
Any changes made in this section are applied in real time to the project. This means that creating, editing, or deleting groups here will immediately affect how layers and markers are organized within the project.
Because this section manages two different types of groups, it is divided into two sub-sections:
1. Layer Groups
This sub-section is used to manage layer groups.
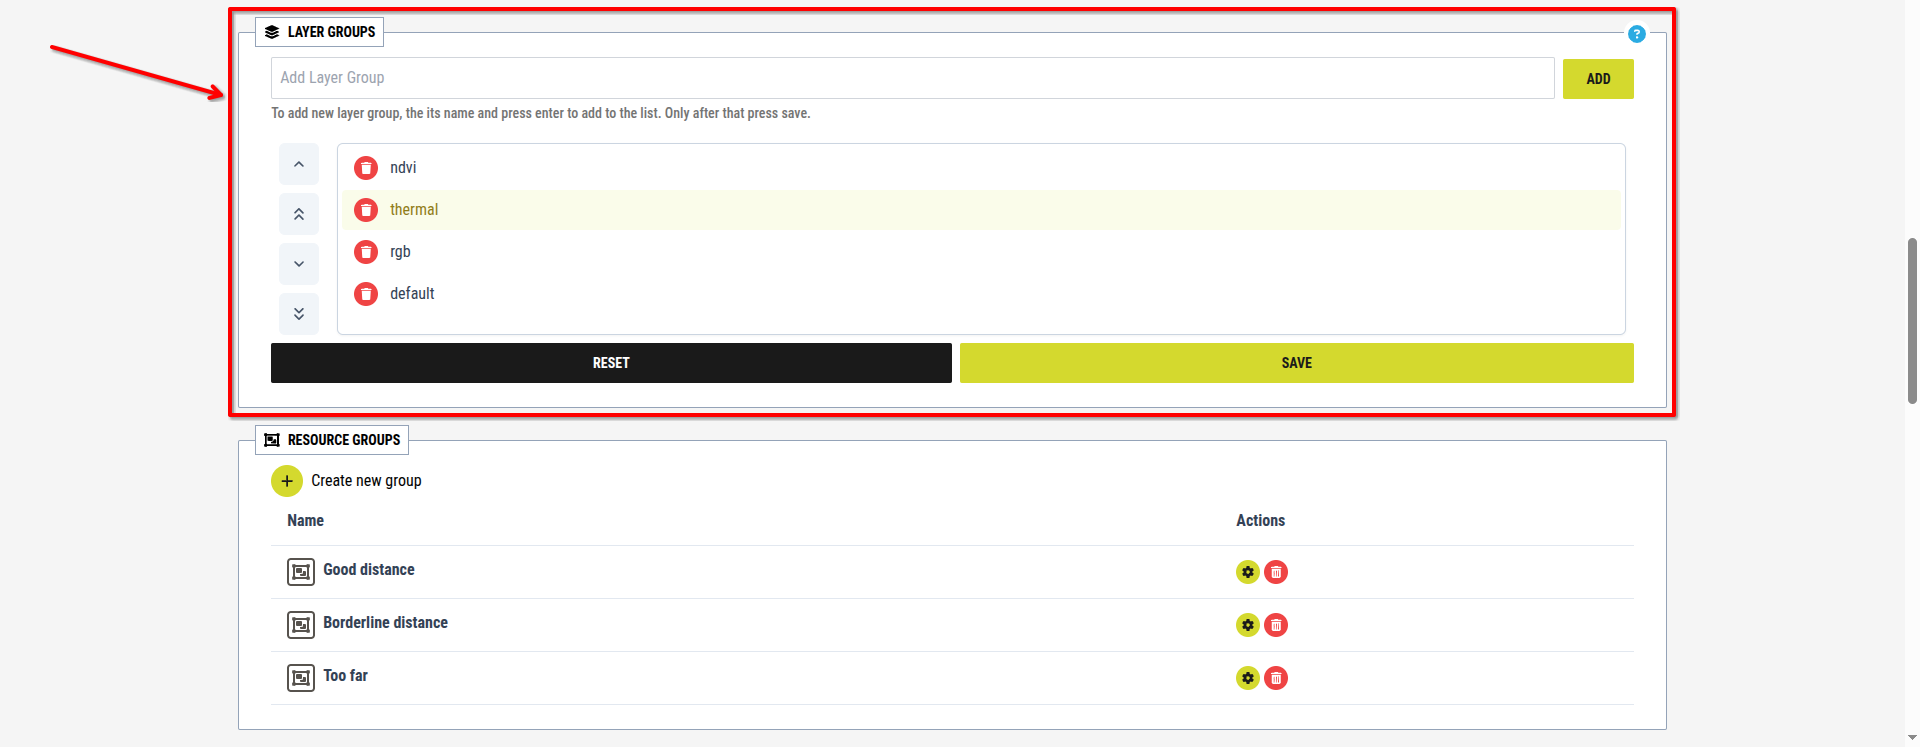
[Showcase of the Layer groups sub-section of the Groups settings section in the project settings]
If left unchanged, only one layer group exists by default — default.
Within this section, you can:
- Create new layer groups
- Delete existing layer groups
- Change the order in which layer groups are displayed on the map
The section is structured into three parts:
- Add Layer group
- "Add Layer Group" textbox
- Add button
- Layer group list
- Layer group list
- Layer group list order management
- Changes administration
- Reset button
- Save button
1.1. Add Layer group
This part allows you to create a new layer groups in the project.
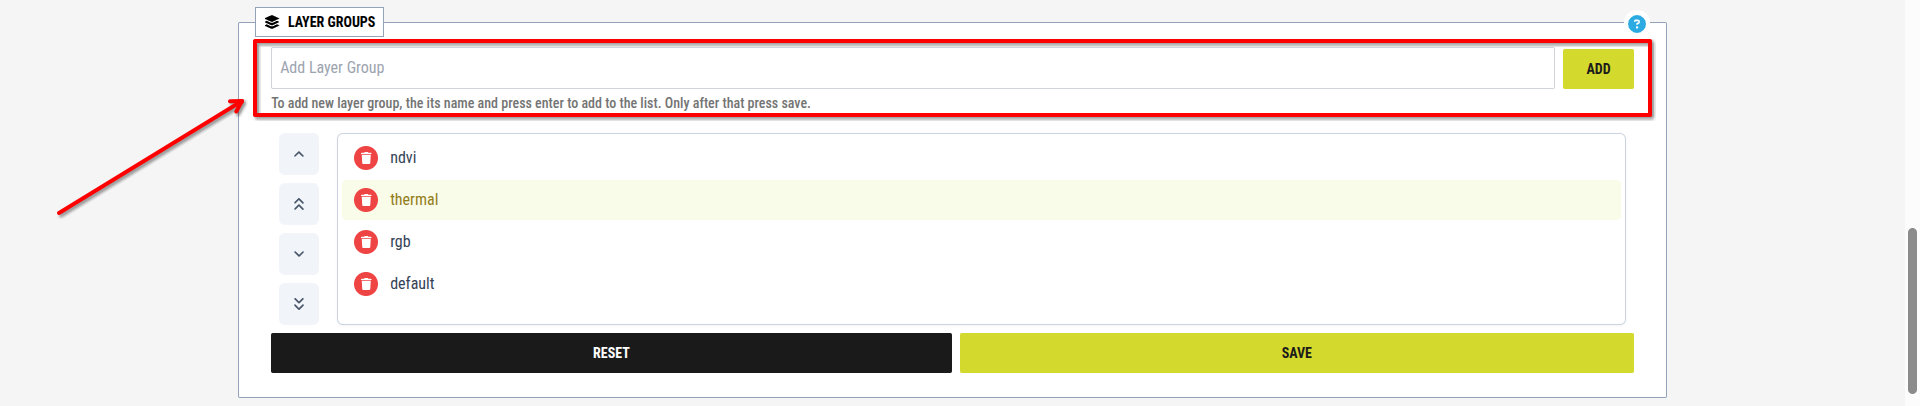
[Showcase of the Add Layer group part of Groups settings in the project settings]
To add a layer group:
1. Type the desired name into the "Add Layer Group" textbox
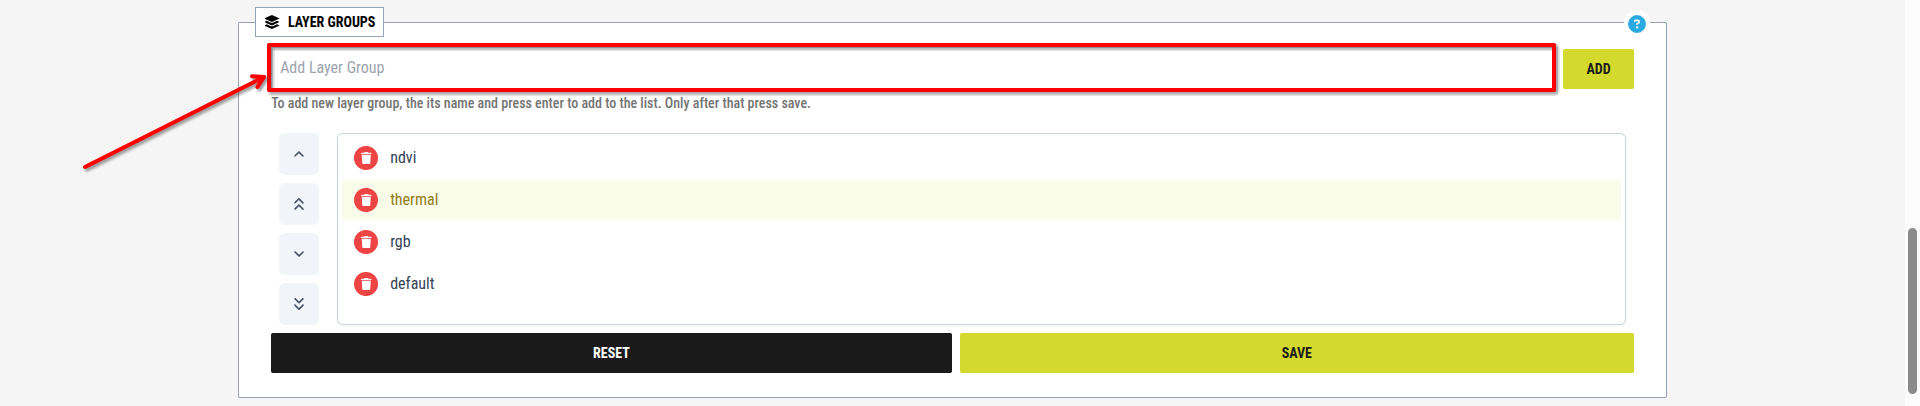
[Image for step 1]
2. Click the ADD button
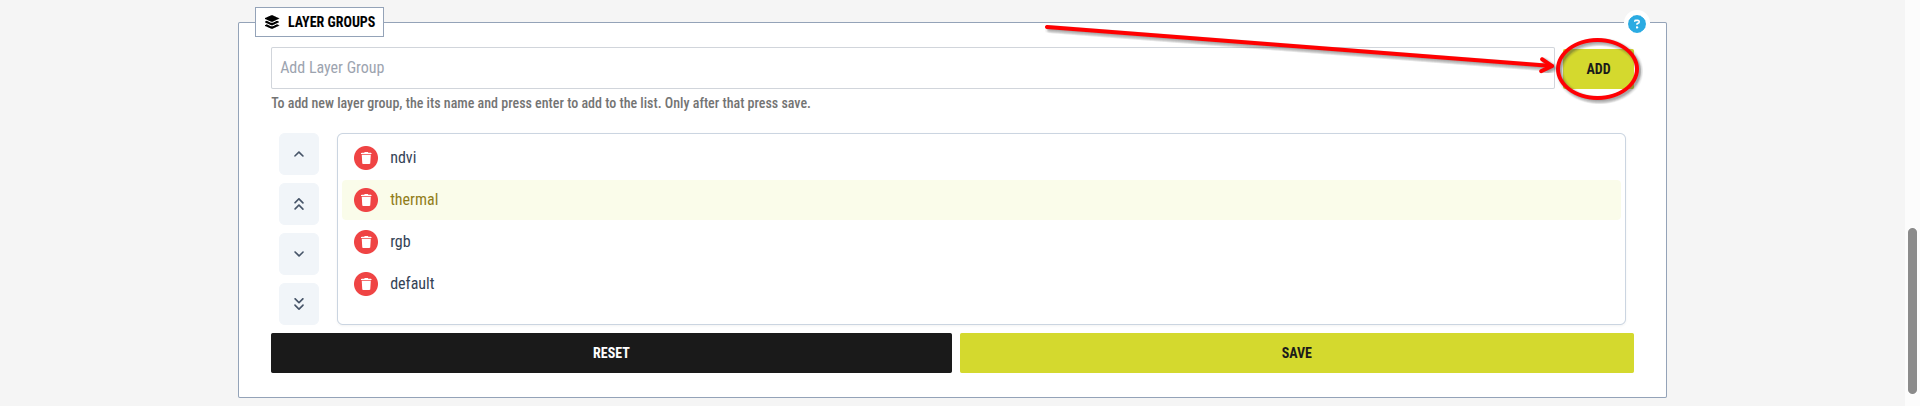
[Image for step 2]
The new layer group will appear in the list below.
1.2. Layer group List
This part shows all existing layer groups in the project and allows you to manage them.
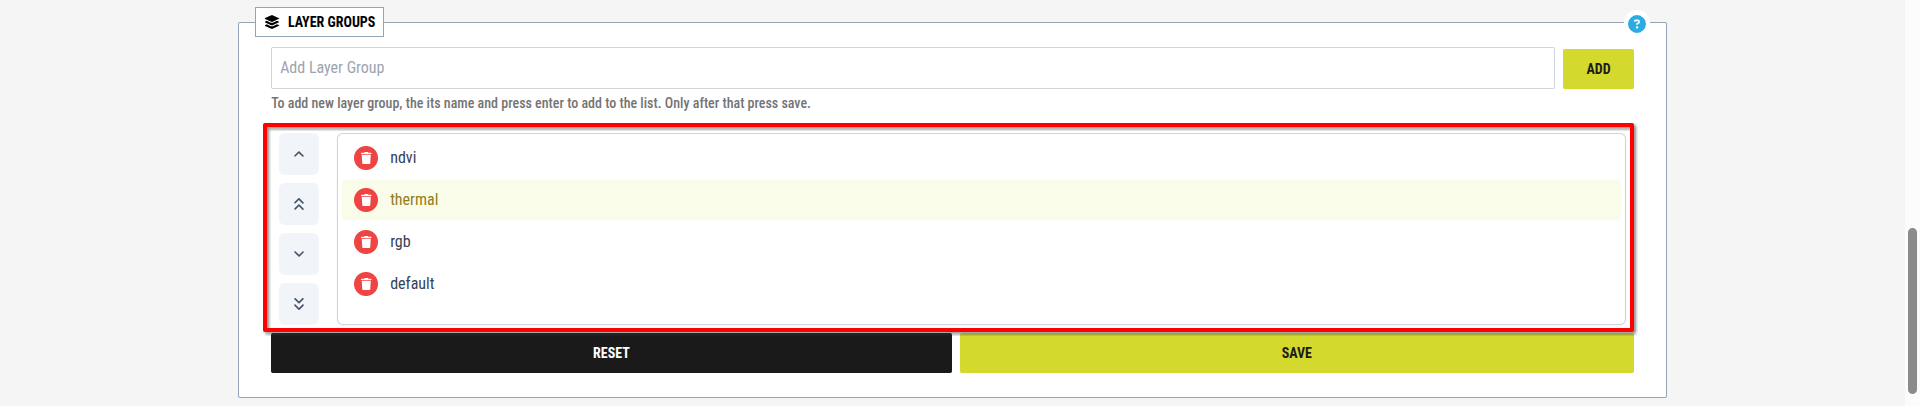
[Showcase of the Layer group list part of Groups settings in the project settings]
Each row in the list represents one layer group and contains:
- The layer group name
- A Delete button
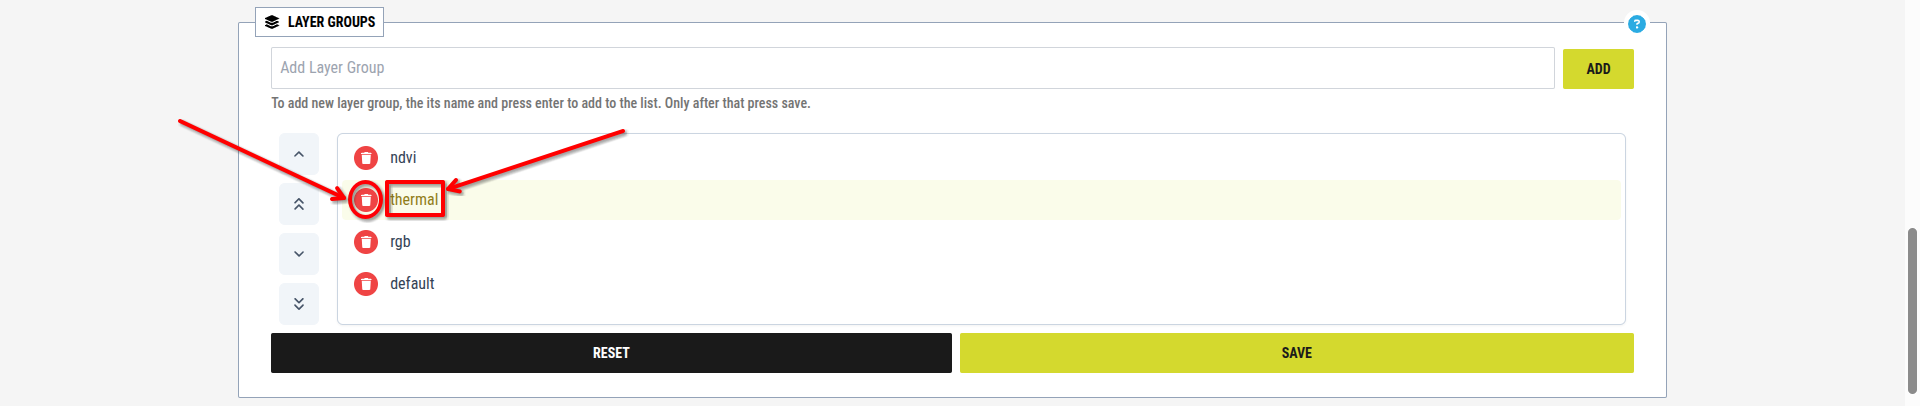
[Showcase of the parts of the Layers group list]
1.2.1. Delete a Layer Group
To remove a layer group:
1. Click the Delete button next to the layer group
2. The layer group is removed from the project
1.2.2. Layer group order management
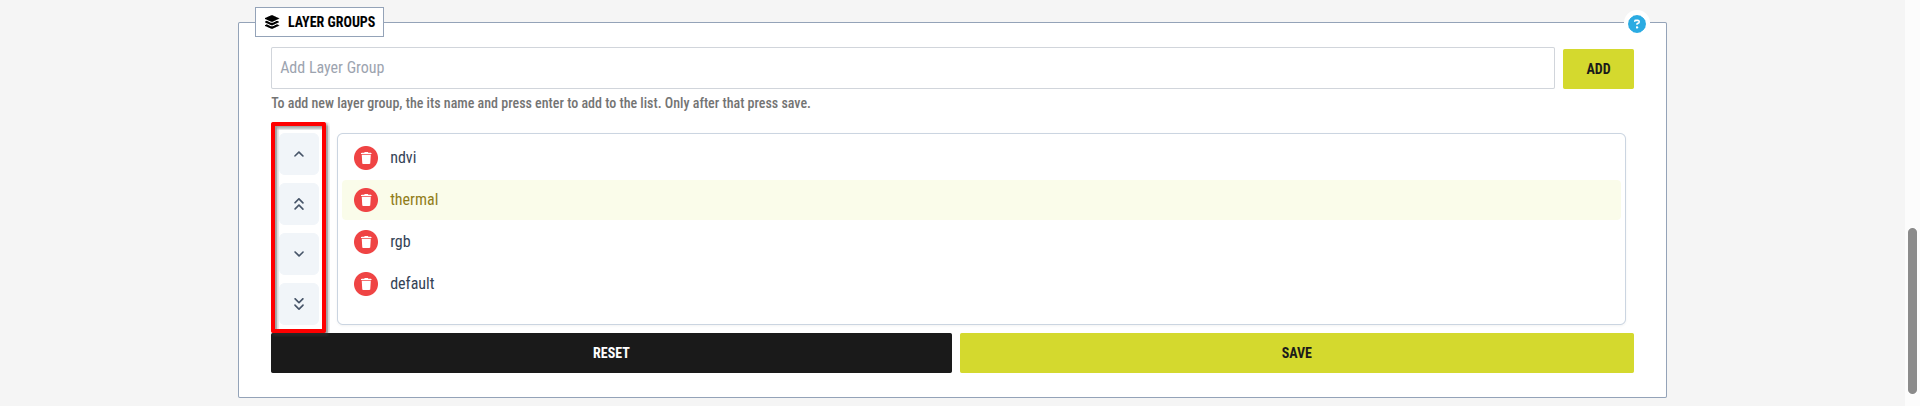
The order of layer groups determines how layers are displayed on the map:
[Showcase of the Layer group order management arrows]
You can change the order using arrow buttons next to the list:
- Single arrows → move the group one position up or down
- Double arrows → move the group to the top or bottom
To change the order:
1. Select the layer group in the list
2. Use the arrows to move it to the desired position
1.3. Changes Management
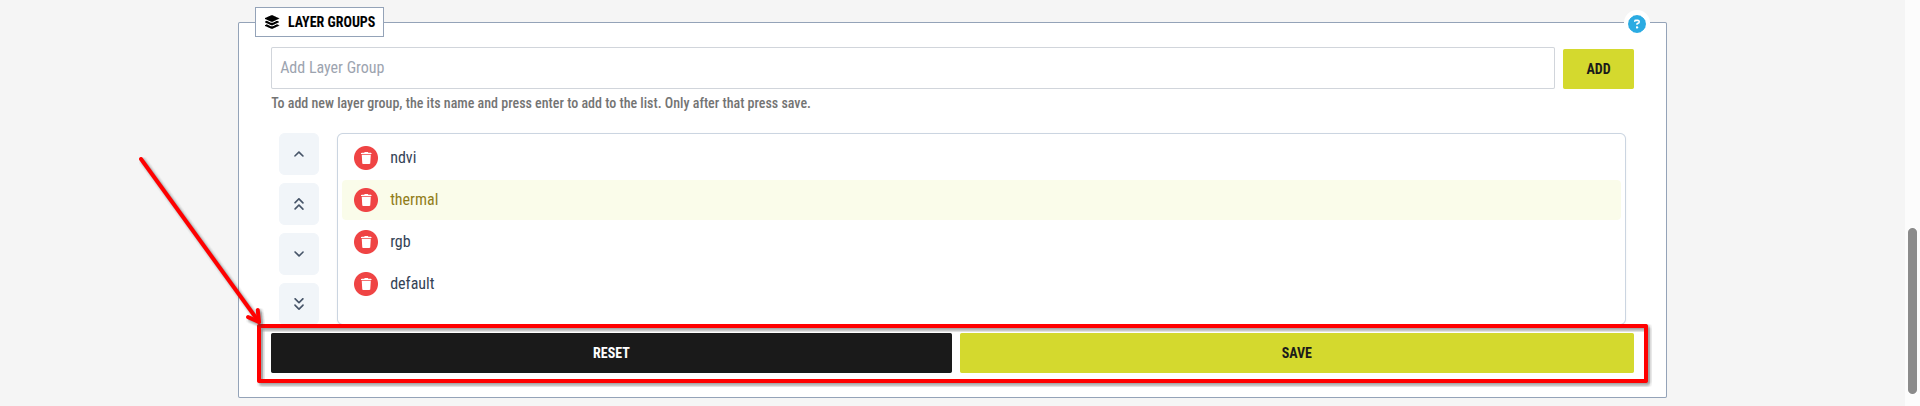
This section allows you to either save or discard your changes.
[Showcase of the Changes managmenet part of the Layer group sub-section]
It contains two buttons:
1.3.1. Reset
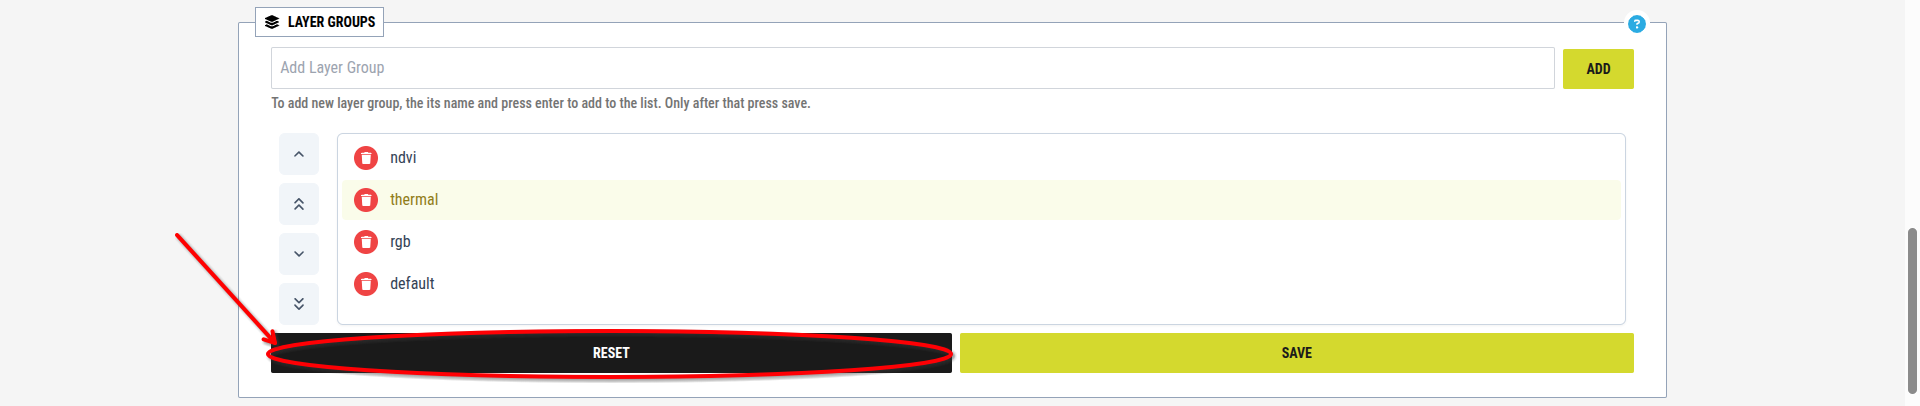
This button cancels all changes made since the last save.
To reset changes:
1. Click the Reset button
[Image for step 1]
2. All unsaved changes will be reverted
1.3.2. Save
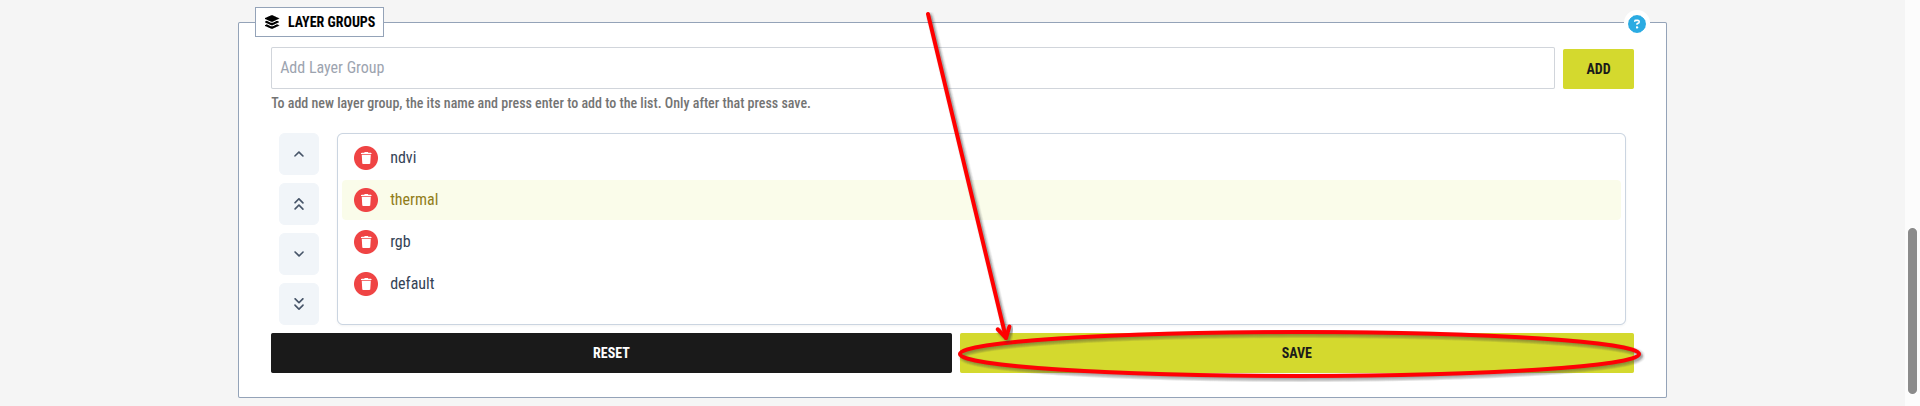
This button saves all changes made to layer groups.
To save changes:
1. Click the Save button
[Image for step 1]
2. All current changes are stored and applied
2. Resource groups
This sub-section is used to manage the Resource groups, which are groups for markers and polygons.
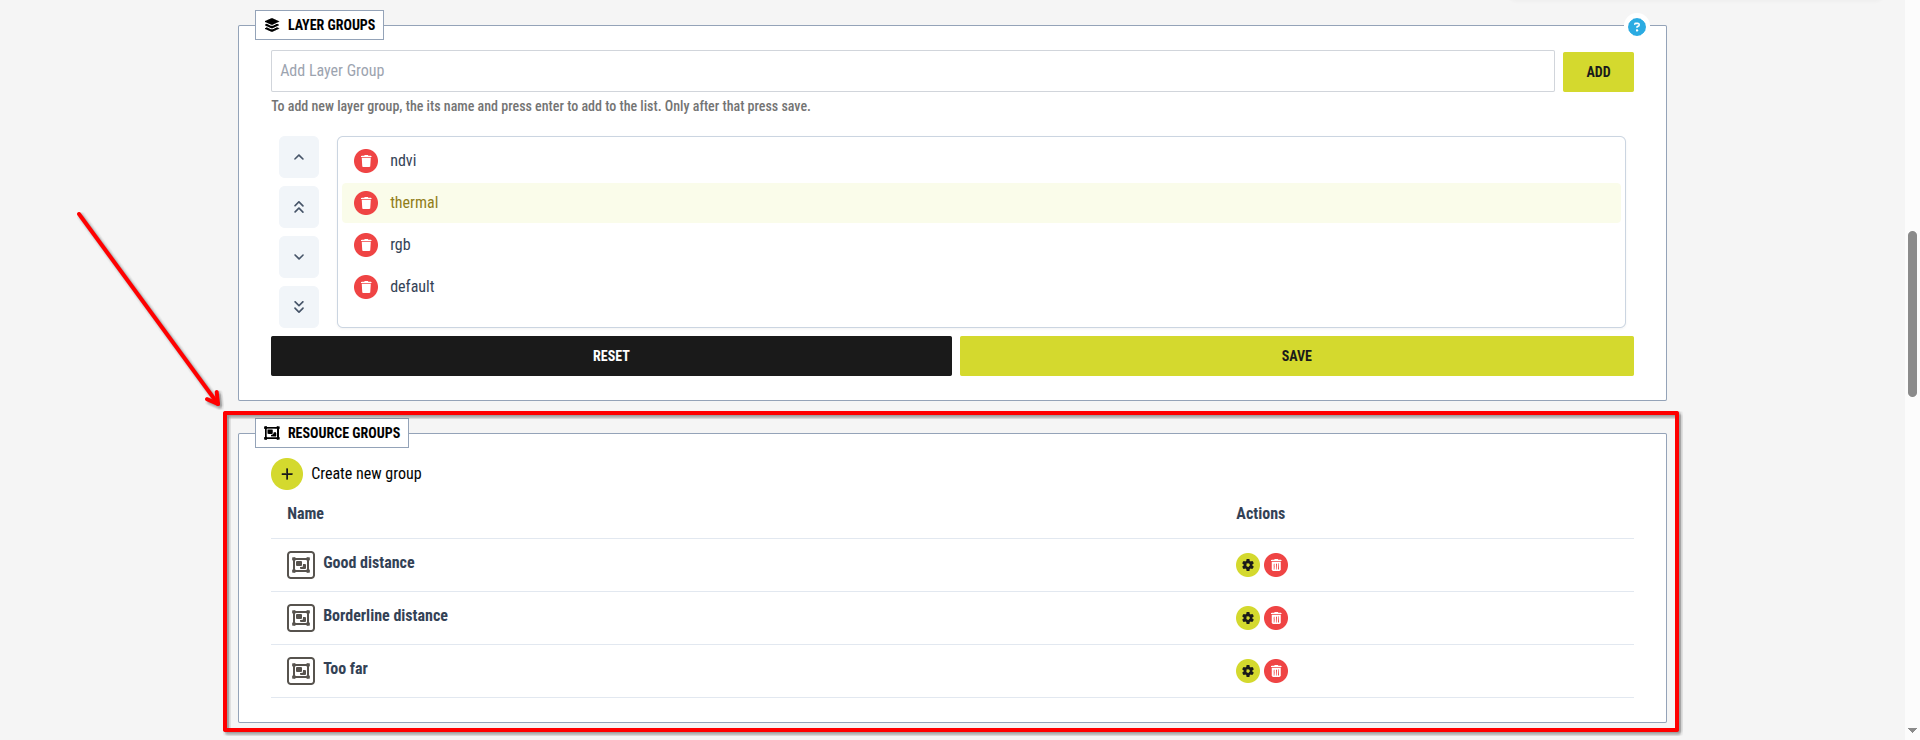
[Showcase of the Resource groups sub-section of the Groups settings section in the project settings]
If left unchanged, no resource groups are available by default in a project.
Within this section, you can:
- Create new resource groups
- Manage existing resource groups
- Delete existing resource groups
The section is structured into two parts:
- New group creation
- Create new group button
- Resource group list and management
- Resource group list
- Action buttons (Settings, Delete)
2.1. New resource group creation
This part allows you to create a new resource group in the project.
To create a resource group:
1. Click the Create new group button

[Image for step 1]
2. Enter a name for the group in the "Name" textbox
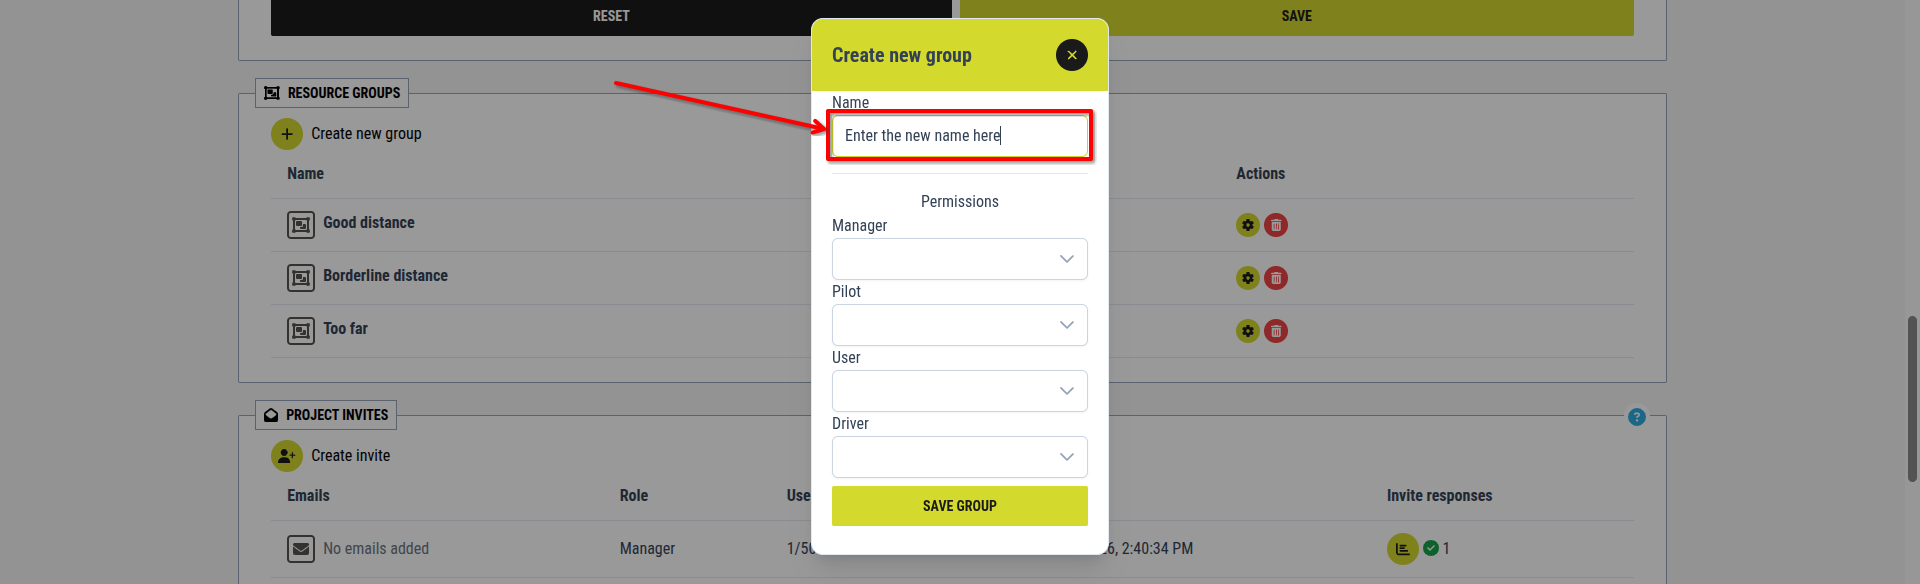
[Image for step 2]
3. Set permissions for each role:
3.1. Click the dropdown under a role
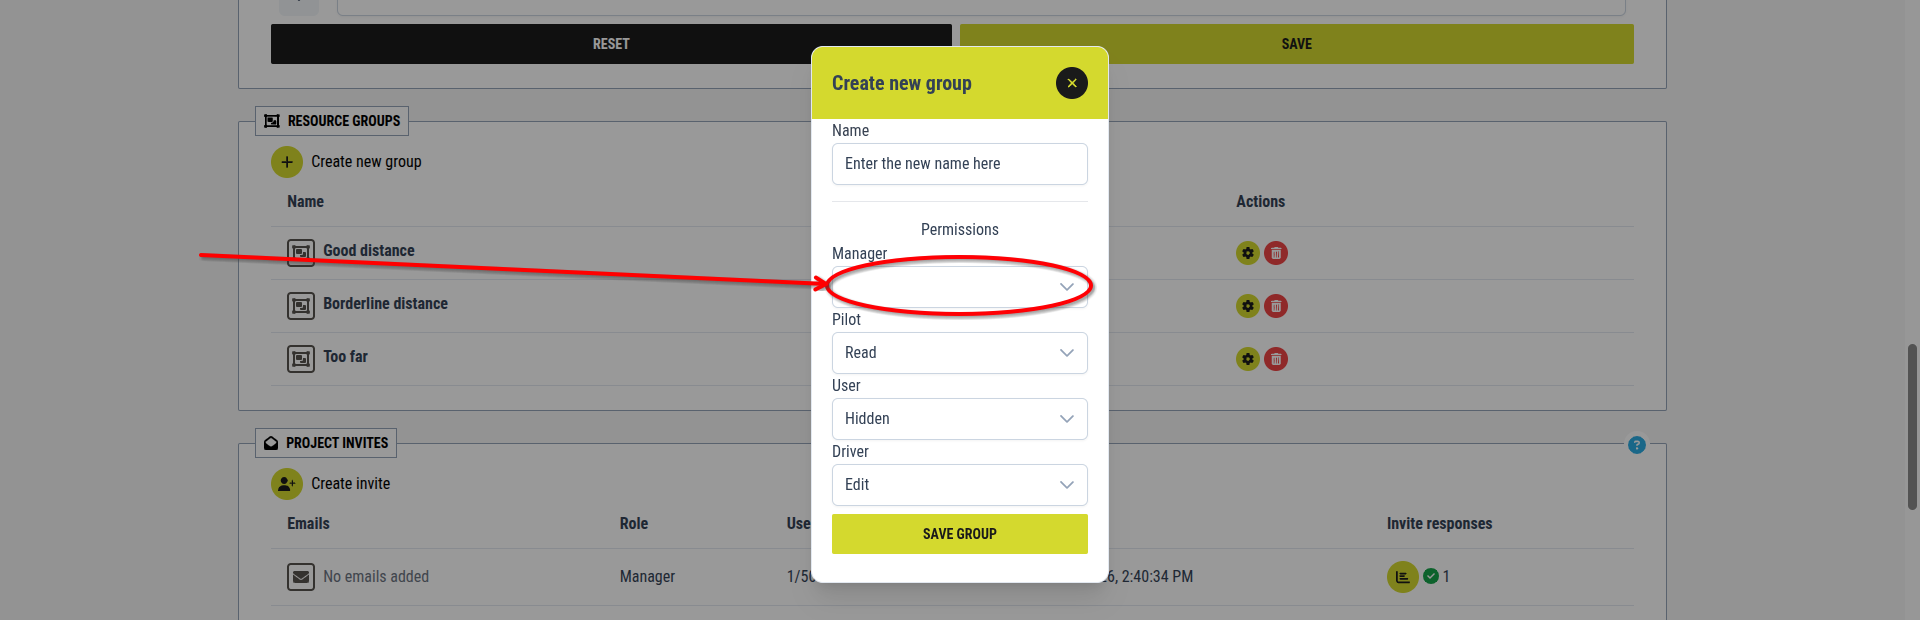
[Image for step 3.1.]
3.2. Select the desired permission from the list
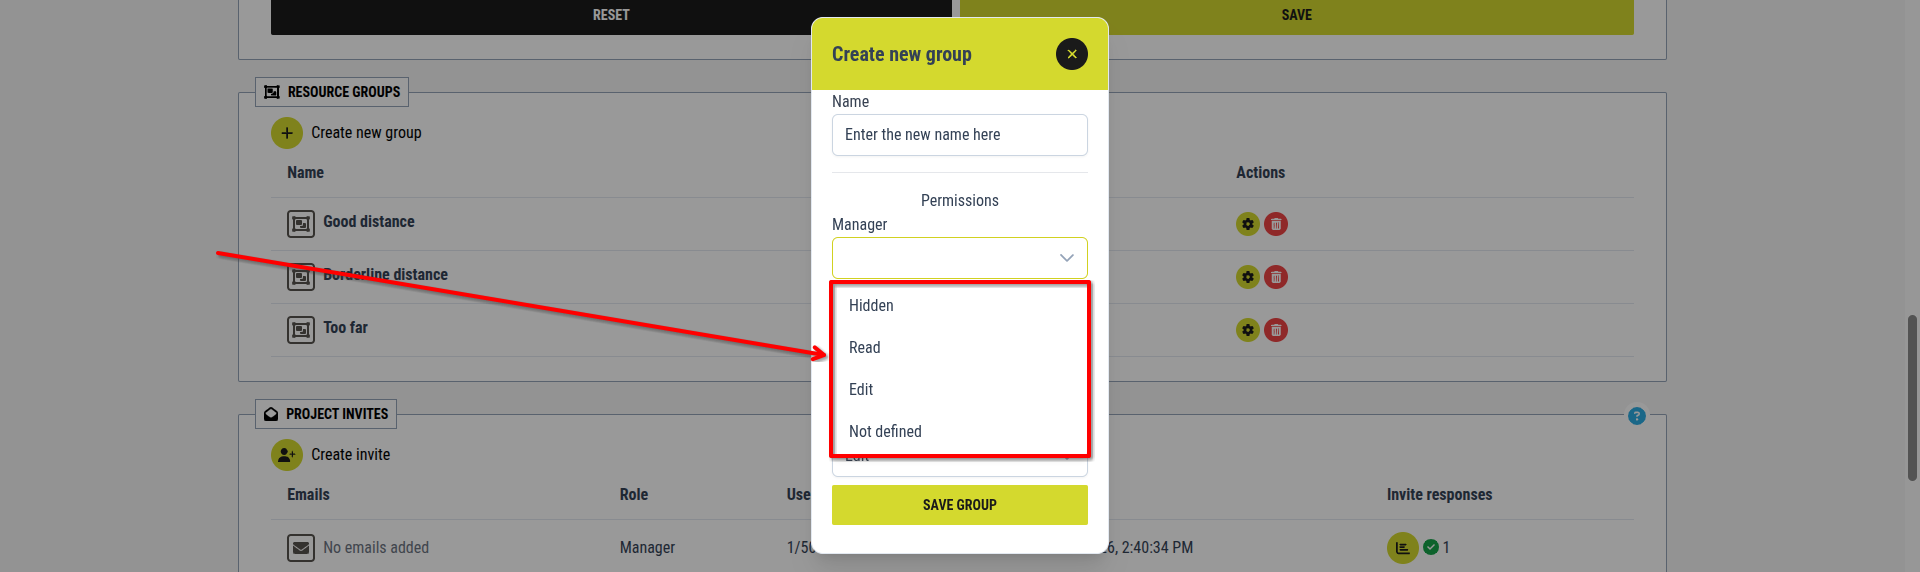
[Image for step 3.2.]
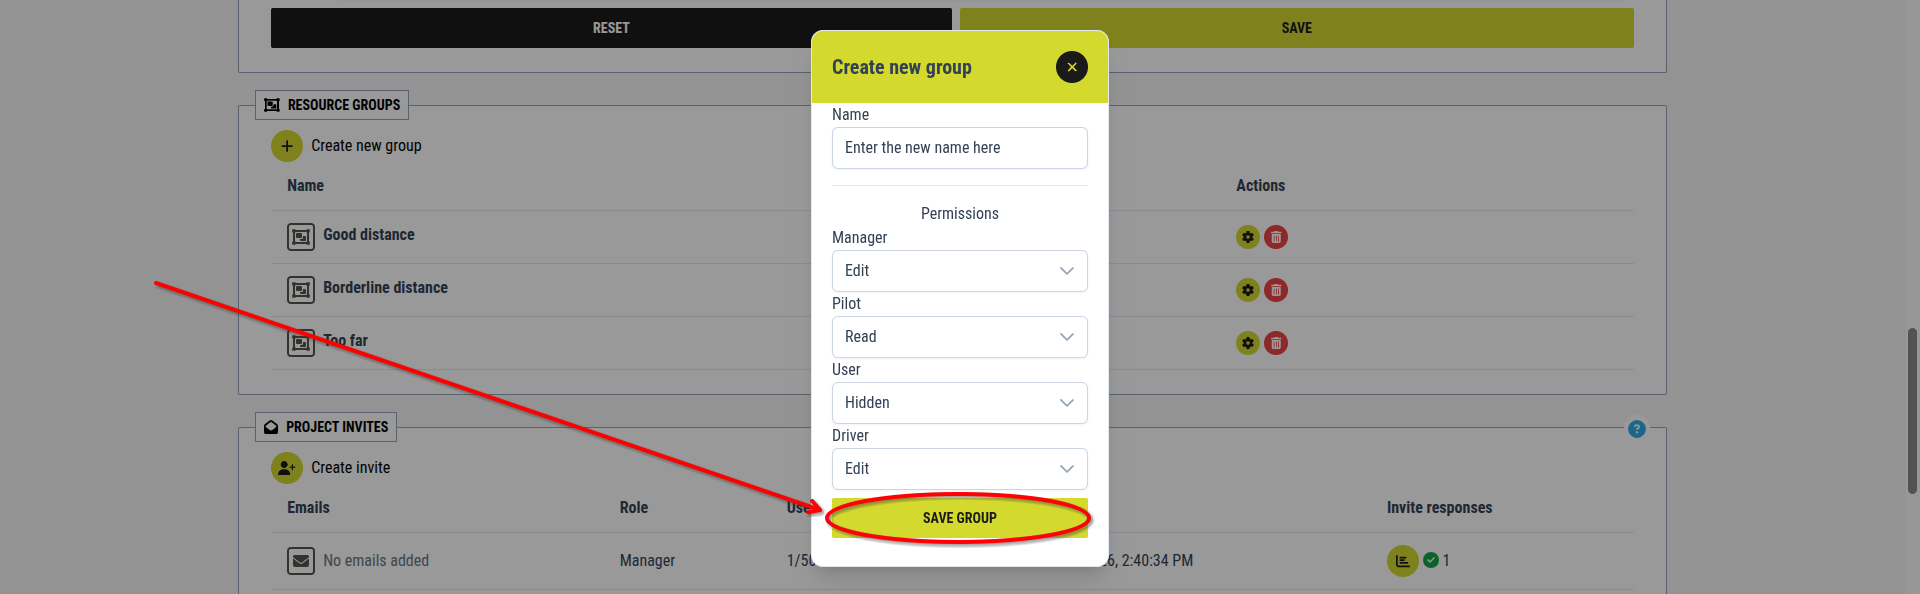
4. Click the Save group button
[Image for step 4]
This will create the resource group and make it available in the project.
2.2. Resource group list
This part displays all existing resource groups and allows you to manage them.

[Showcase of the Resource groups list]
Each row represents one resource group and contains:
- The resource group name
- Actions buttons:
- Settings
- Delete

[Showcase of the parts of the Resource groups list]
2.2.1. Edit an existing resource group
Editing a resource group allows you to change its name and adjust role permissions.
To edit a resource group:
1. Click the Settings button next to the group

[Image for step 1]
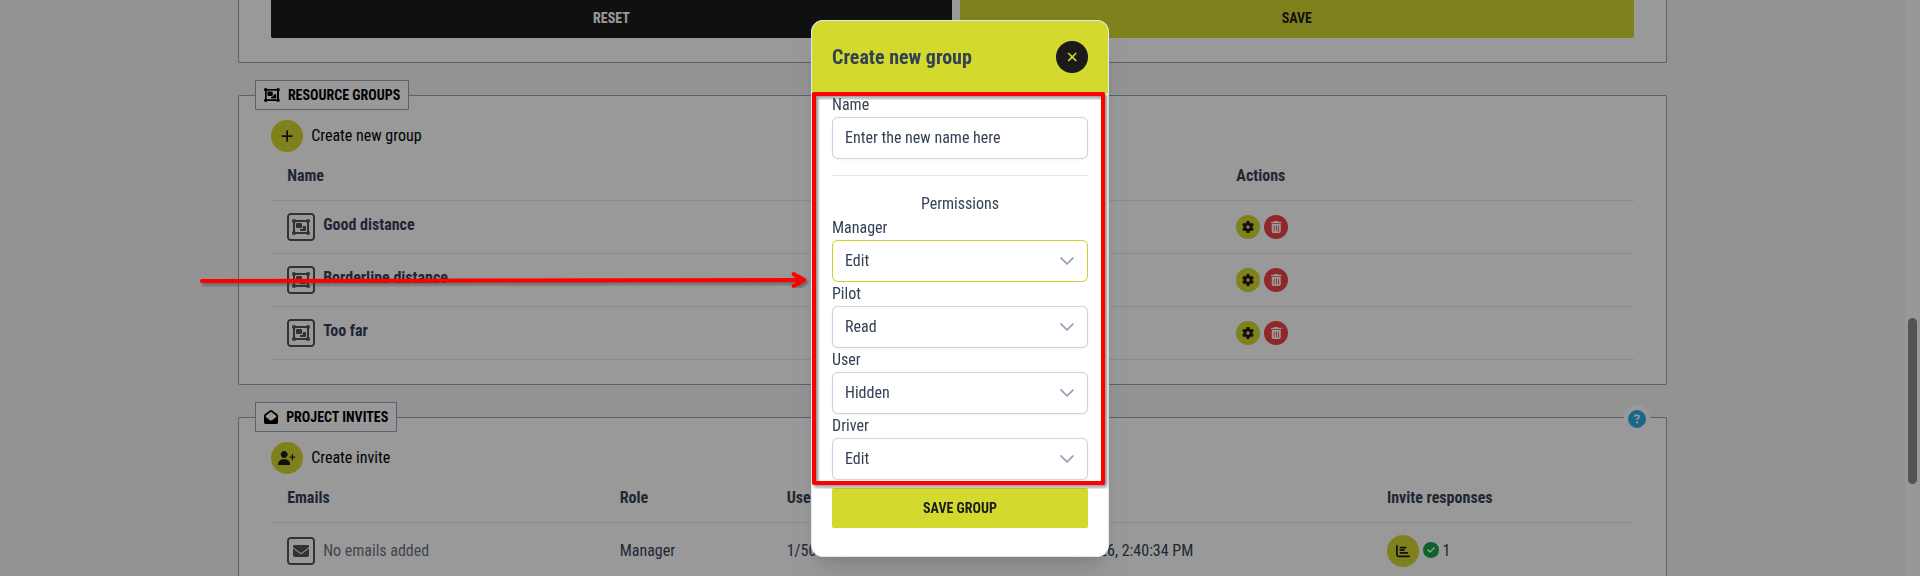
2. Modify the name and/or permissions
[Image for step 2]
3. Click the Save group button
[Image for step 3]
2.2.2. Delete an existing resource group
Deleting a resource group removes it permanently from the project.
To delete a resource group:
1. Click the Delete button next to the group

[Image for step 1]