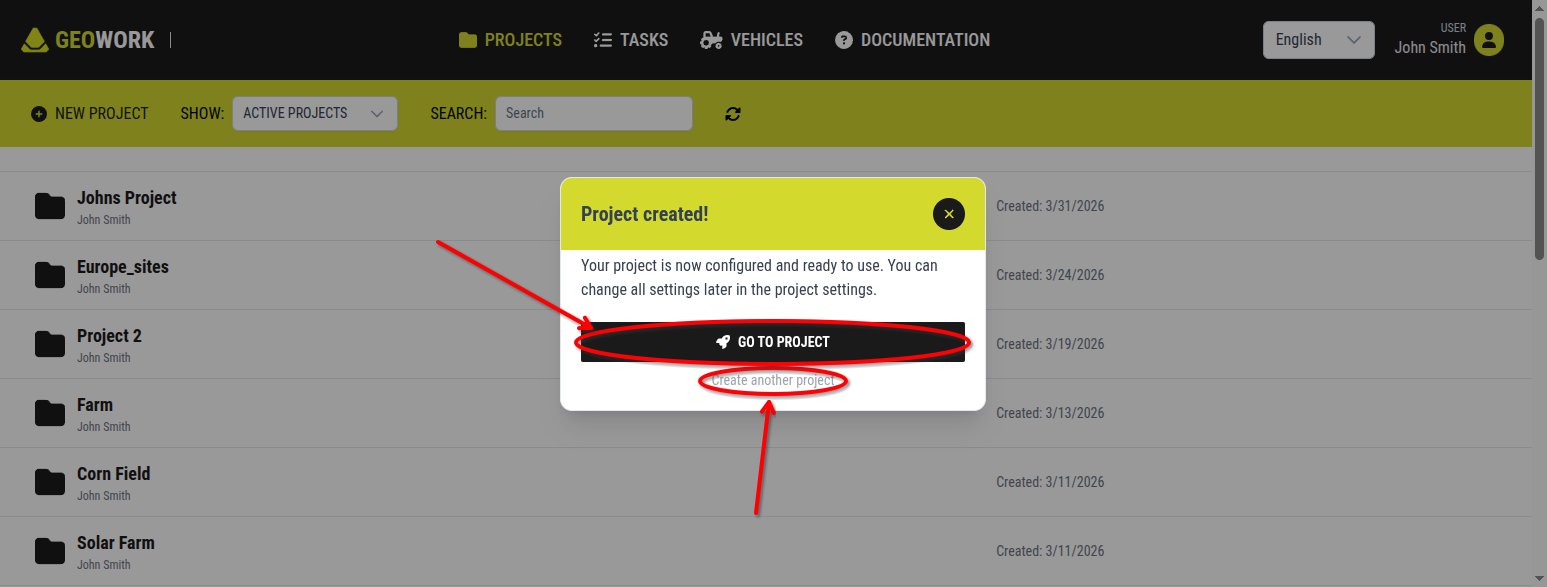
Create a project
info
The process of creating a project is restricted to licensed users only.
To create a project, a user must first be logged-in. The entire process is performed from the Projects tab in the dashboard.
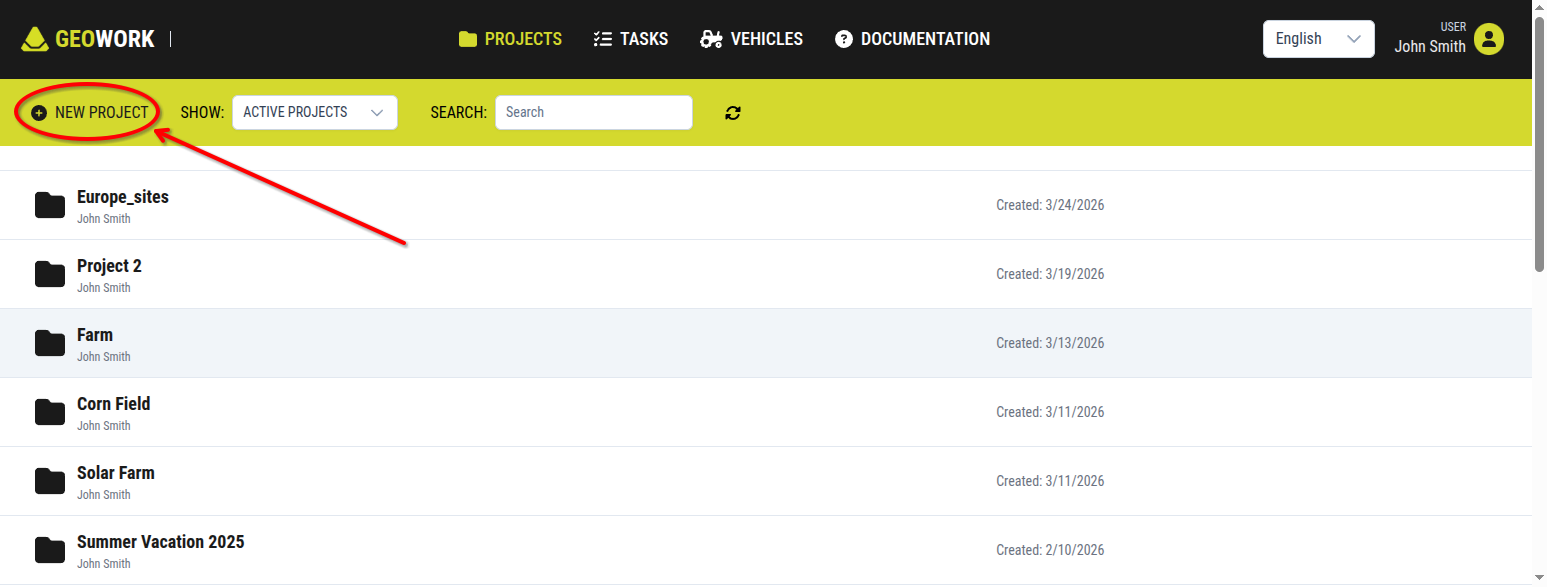
1. Click the "New Project" button
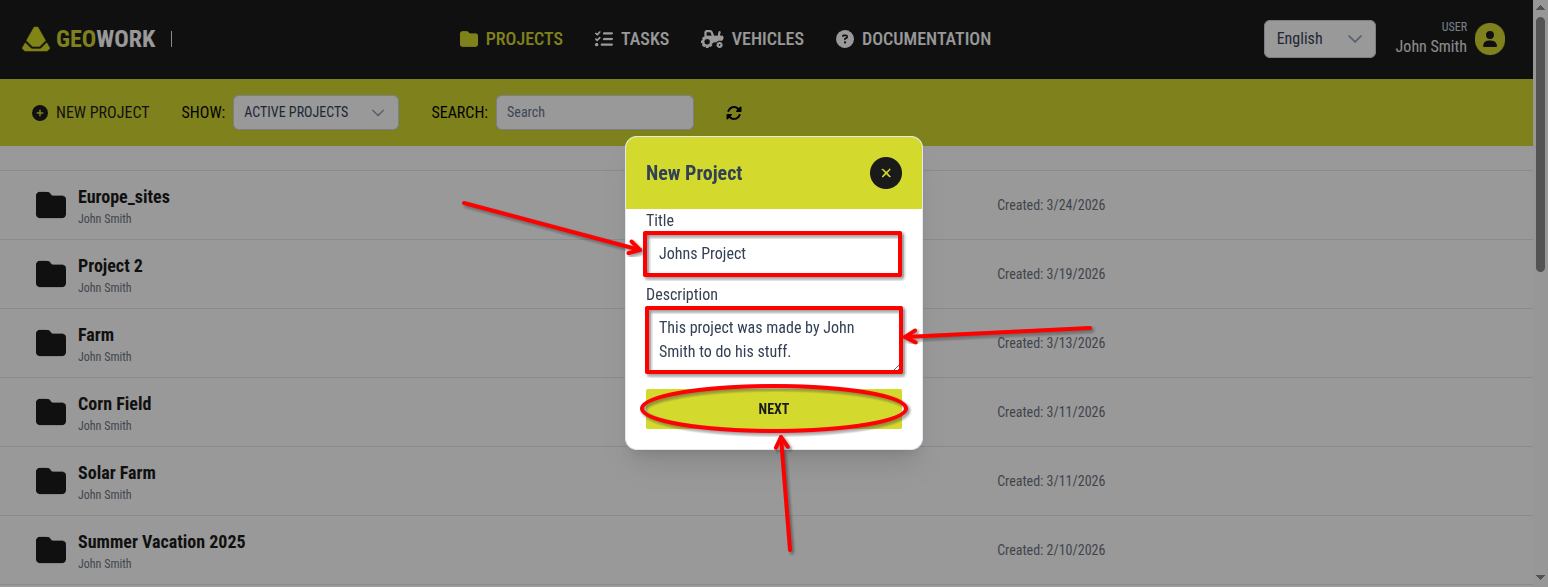
2. Enter the project title and, optionally, a description
-> Once completed, click the "Next" button
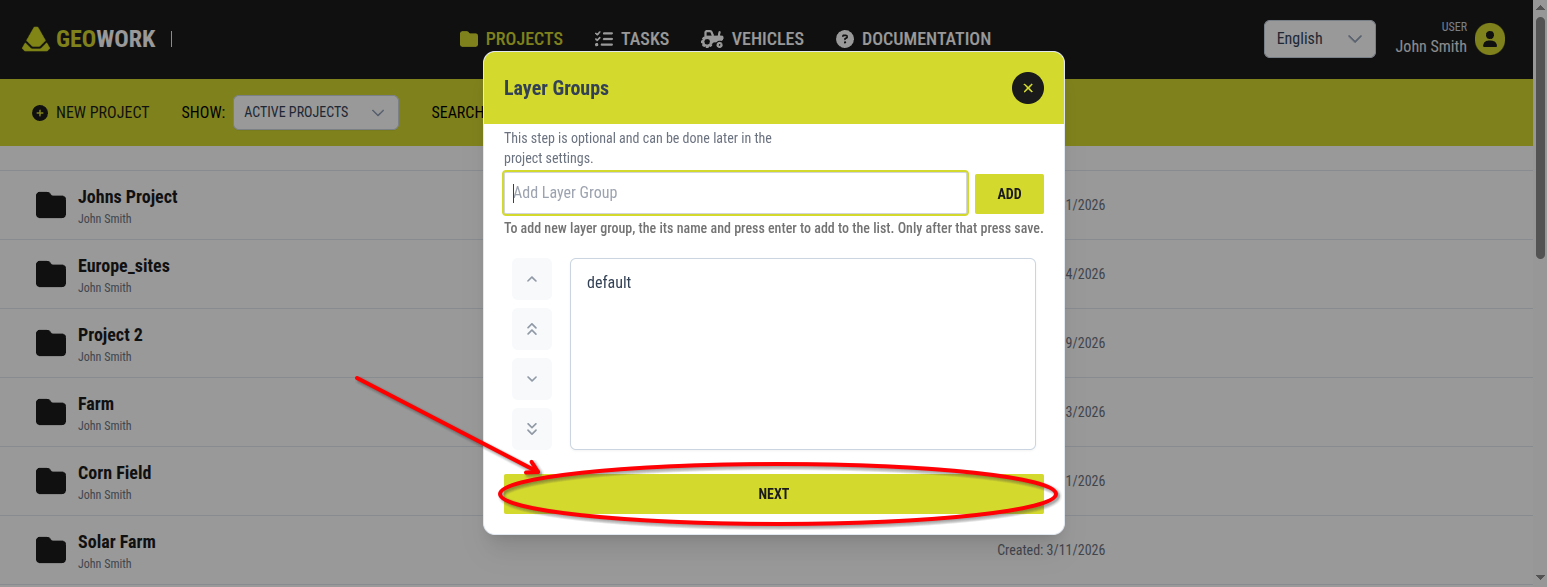
3. Set up Layer groups, if desired
- if left untouched, the only available Layer group when the project is first opened will be the "Default" group
-> Once completed, click the "Next" button
-> Or click the "Back" button to start editing the previous step
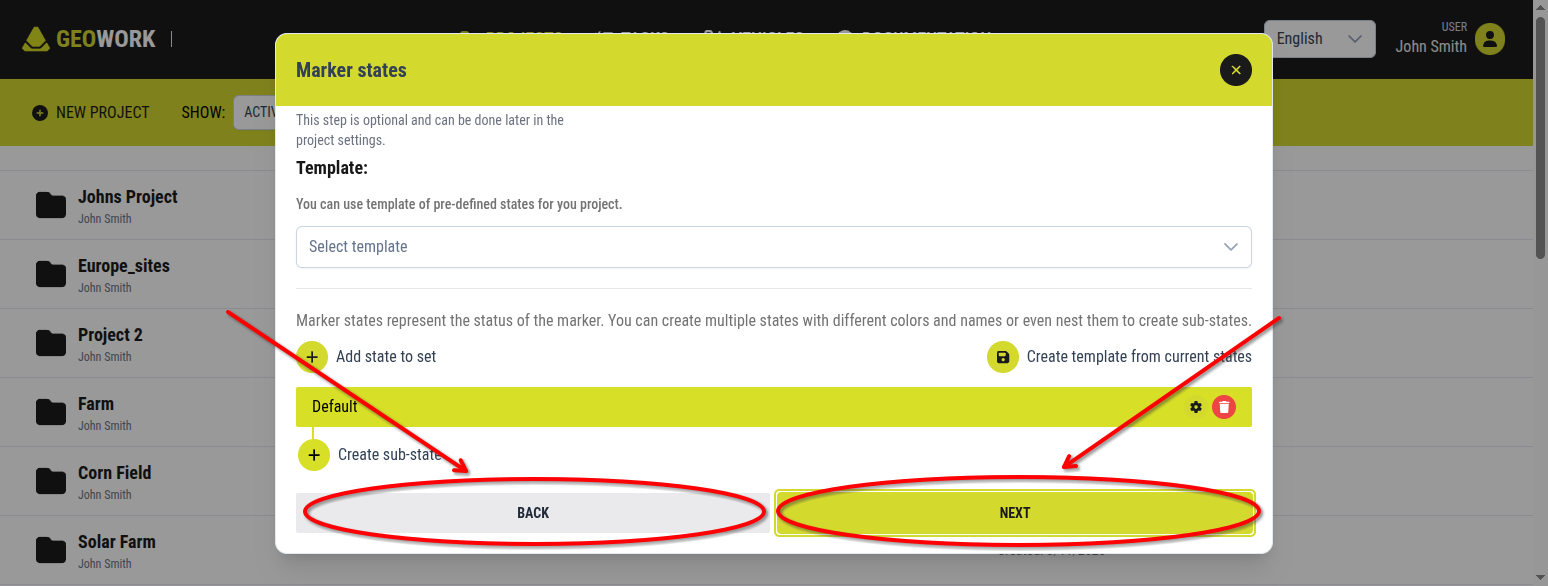
4. Set up Marker states, if desired
- if left untouched, the only available Marker state when the project is first opened will be the "Default" state
-> Once completed, click the "Next" button
-> Or click the "Back" button to start editing the previous step
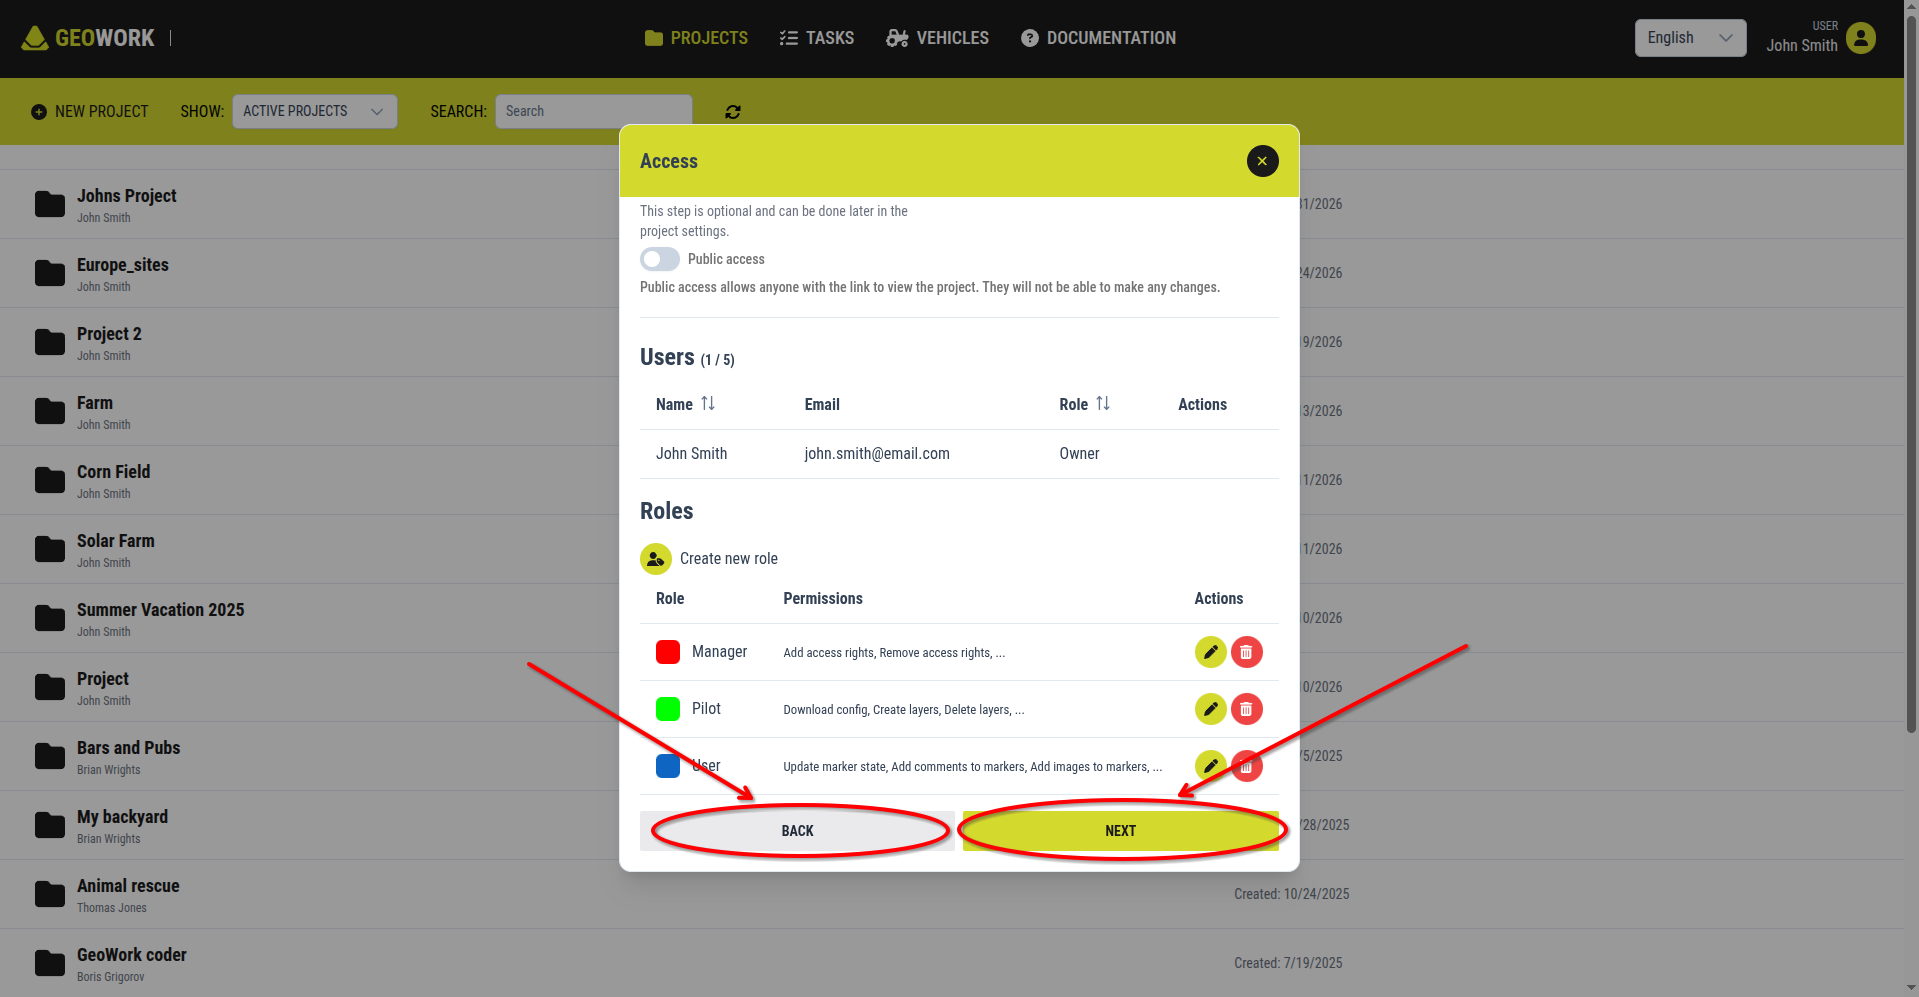
5. Set up Roles for the project, if desired
- if left untouched, the only available Roles will be "User", "Manager" and "Pilot"
-> Once completed, click the "Next" button
-> Or click the "Back" button to start editing the previous step