Tools
Selecting the sixth button in the Project Functions sidebar opens the Tools tab.
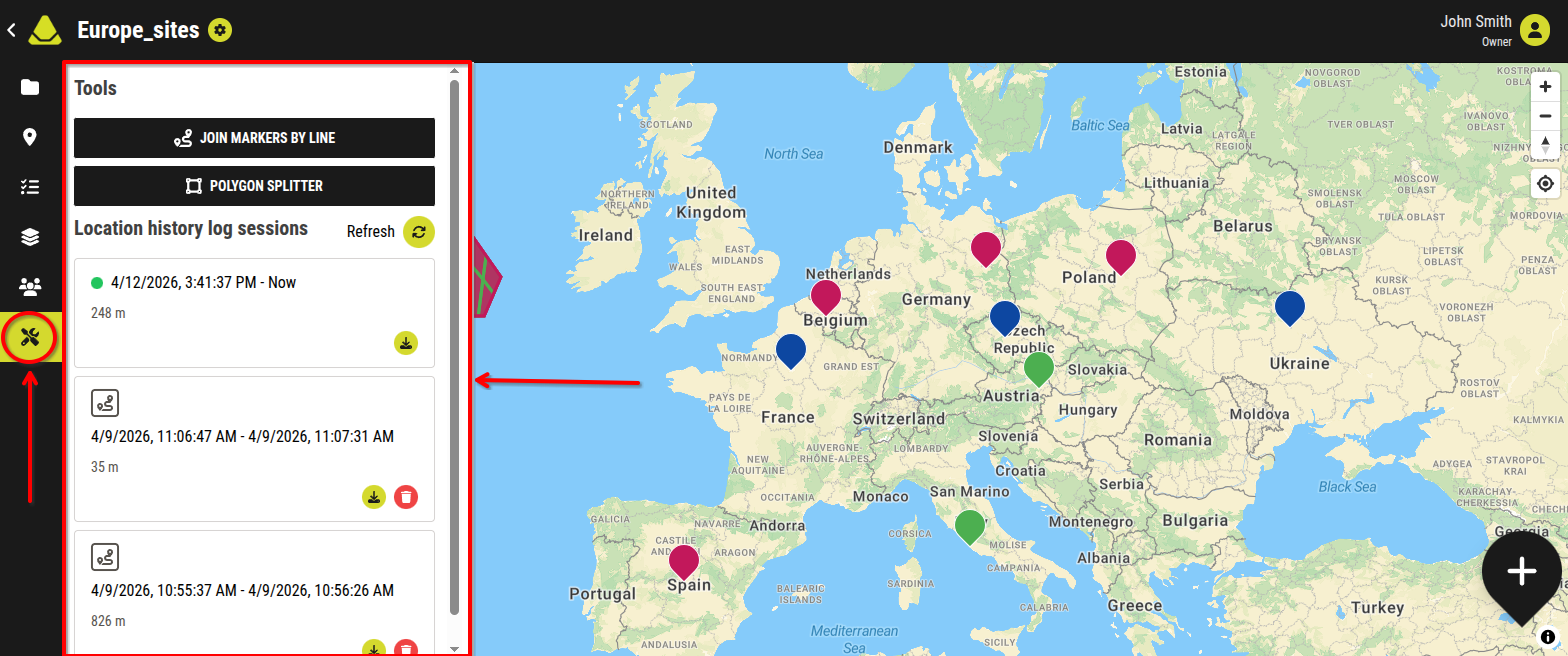
[Showcase of the Tools tab of the Project Functions sidebar]
The Tools tab contains functions that are not included in the other tabs. Currently, it includes three buttons and one section:
- Leave project
- Join Markers By Line
- Polygon Splitter
- Location history log sessions
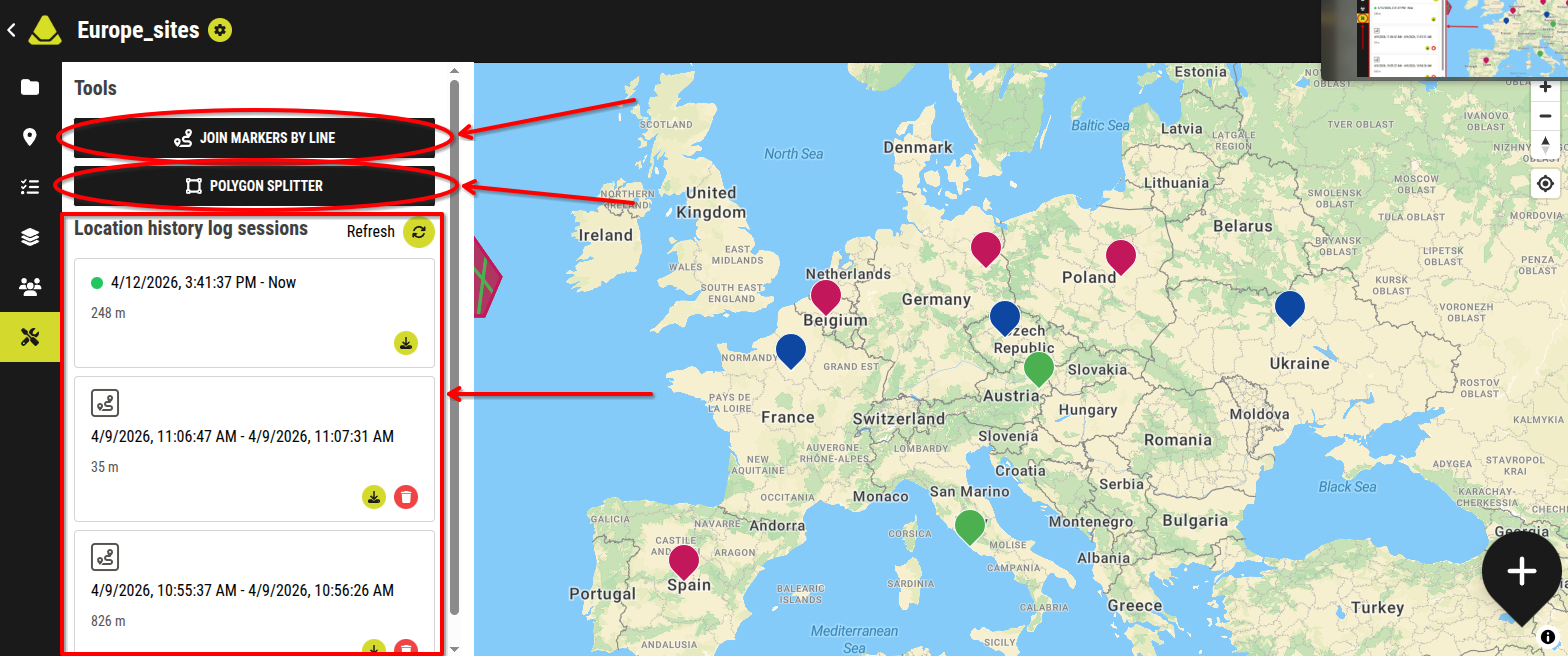
[Showcase of the individual parts of the Tools tab]
1. Leave project
This button is available only to members who are not the creators (owners) of the project.
Pressing this button will make you leave the project. After leaving, you will no longer have access to it and will not be able to rejoin on your own.
To join the project again, the project owner or a user with sufficient permissions must invite you again.
Leaving a project is not permanent. You can be invited and rejoin the project multiple times without any restrictions.
2. Join Markers By Line
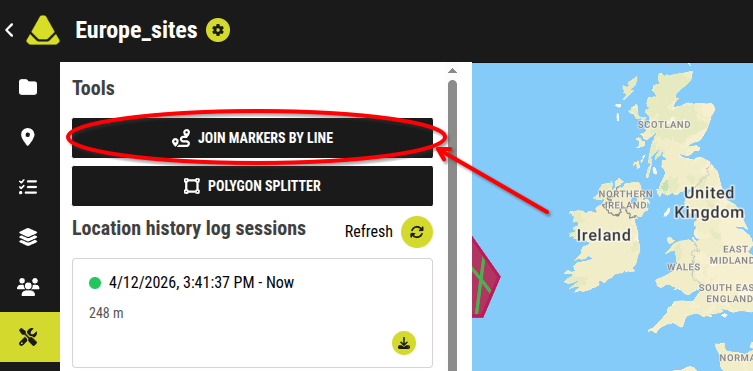
[Showcase of the Join Markers By Line button]
The Join Markers By Line function visually connects markers on the map with lines.
- This is a visual feature only and does not modify project data
- It can be toggled on and off at any time
To toggle the lines:
- Click the Join Markers By Line button
- Lines will appear or disappear depending on the previous state
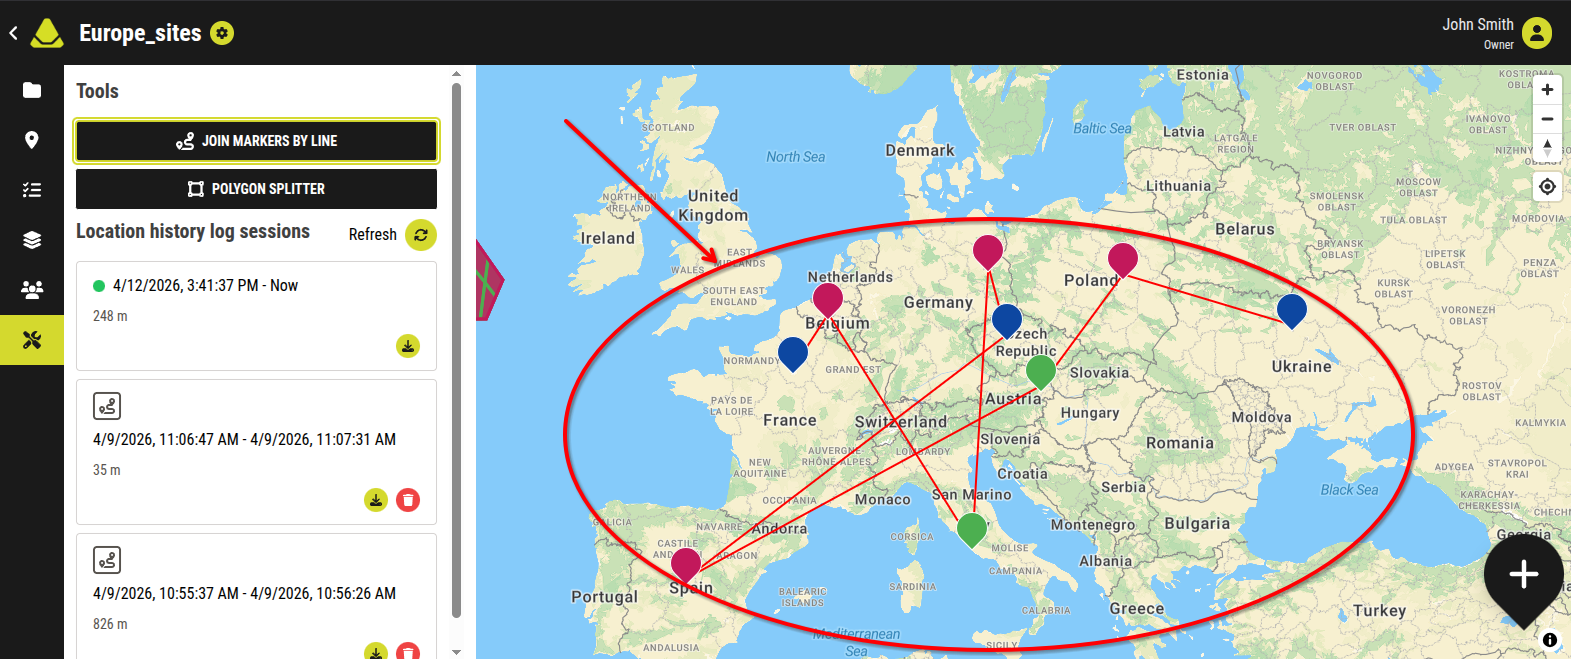
[An example of how a project might look with the markers joined by lines]
3. Polygon Splitter
The Polygon Splitter tool is used to divide an existing polygon into smaller polygons. It can be applied to any polygons, including those created by previous splits.
To split a polygon:
1. Click the Polygon Splitter button
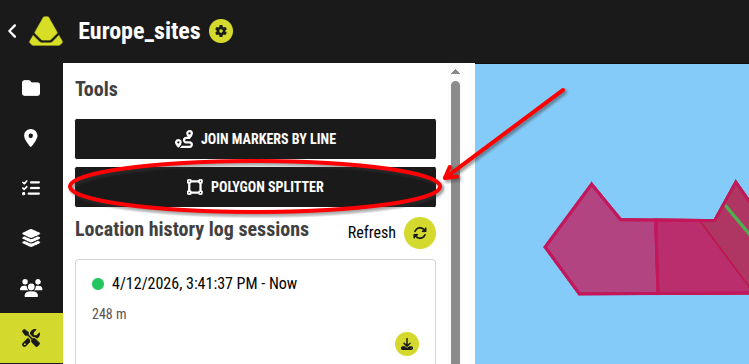
[Image for step 1]
2. On the map, select the polygon you want to split
3. In the pop-up window (top-right corner), click Start Splitting
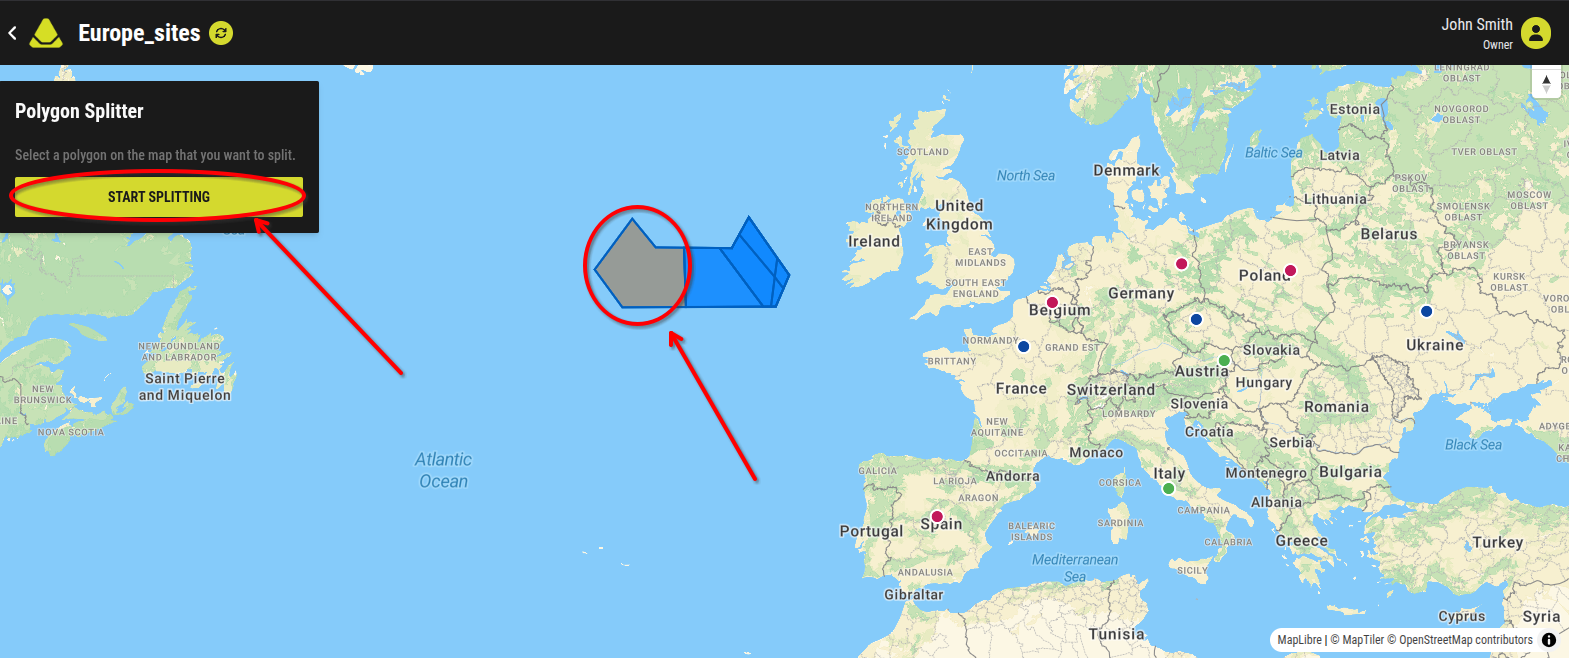
[Image for step 2 & 3]
#4. Draw splitting lines by clicking on the map:
- each pair of clicks creates a line
- multiple lines can be drawn for more complex splits
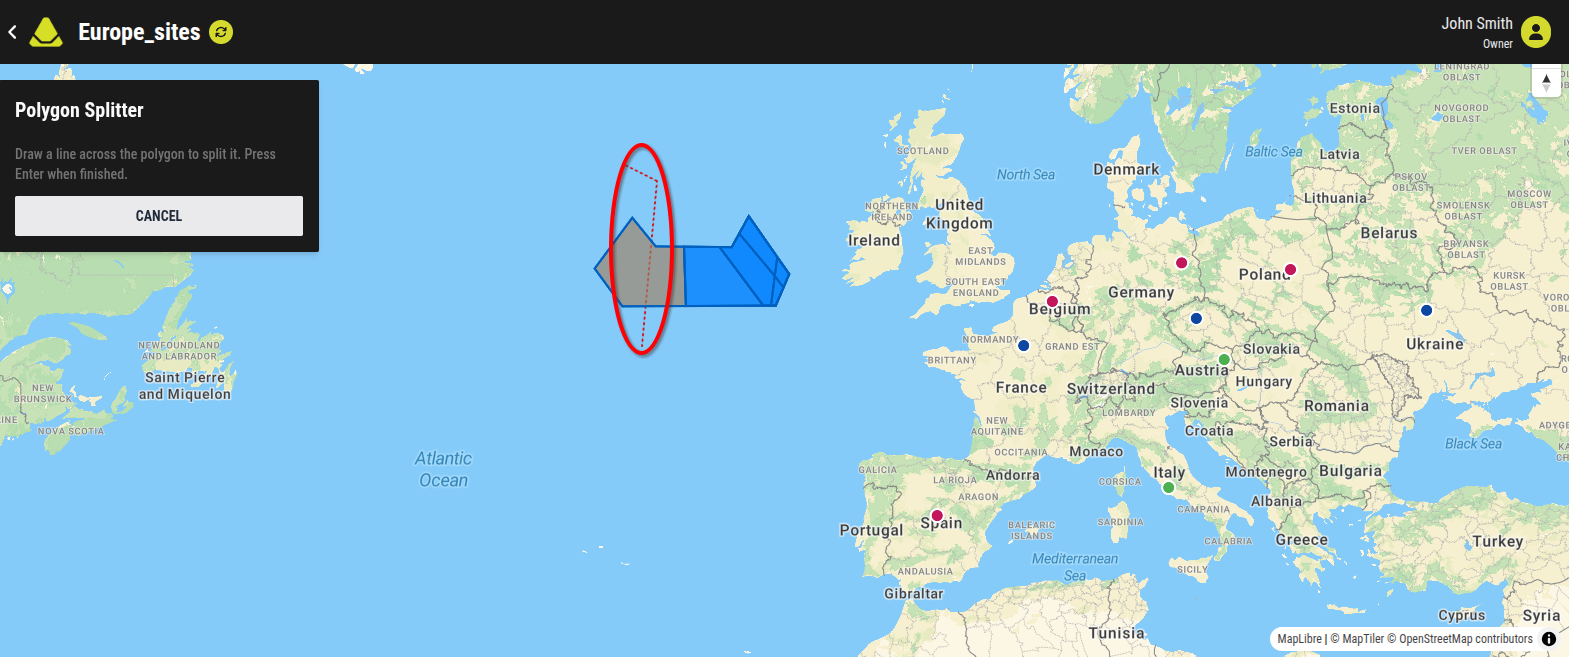
[Image for step 4]
5. Press the Enter key to confirm
6. Press the Save Split Result button
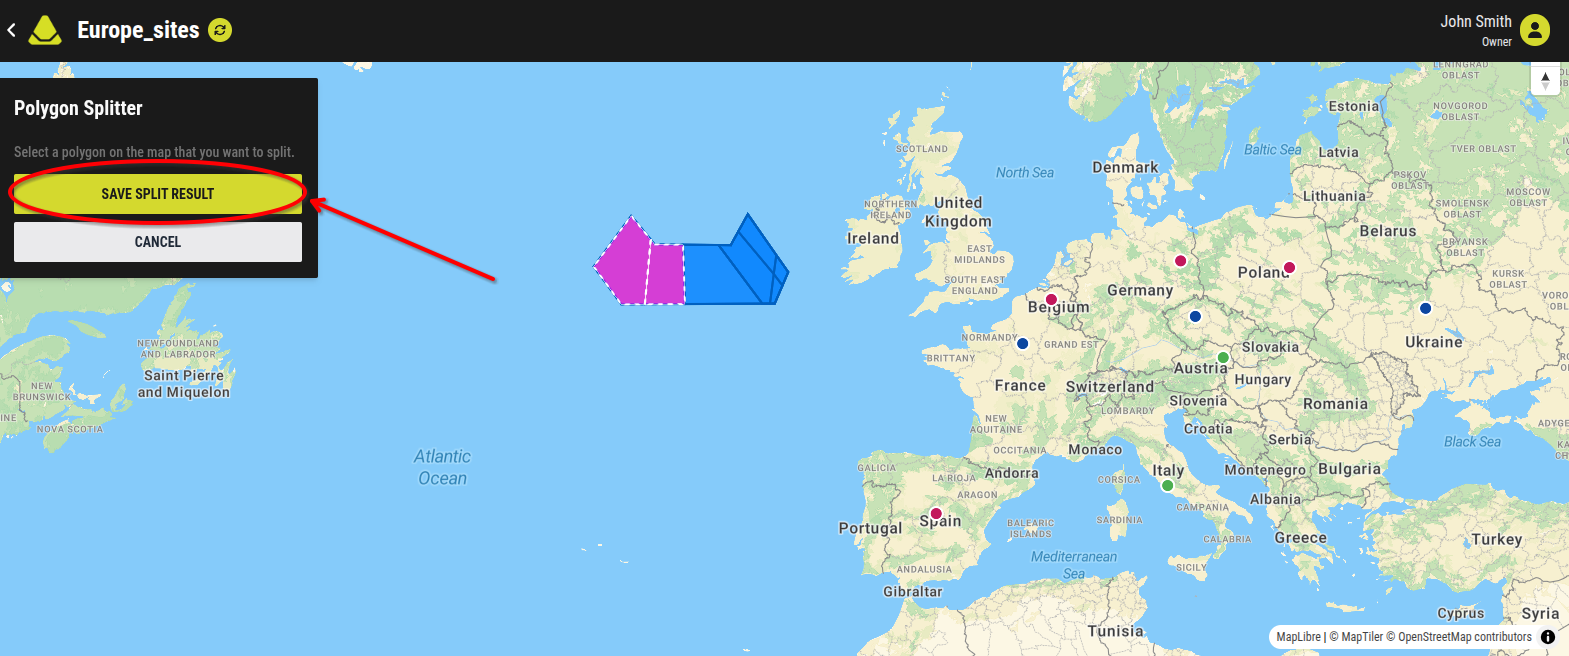
[Image for step 6]
7. The polygon is split into smaller parts
4. Location history log sessions
This section contains records of all location tracking process sessions within the project.
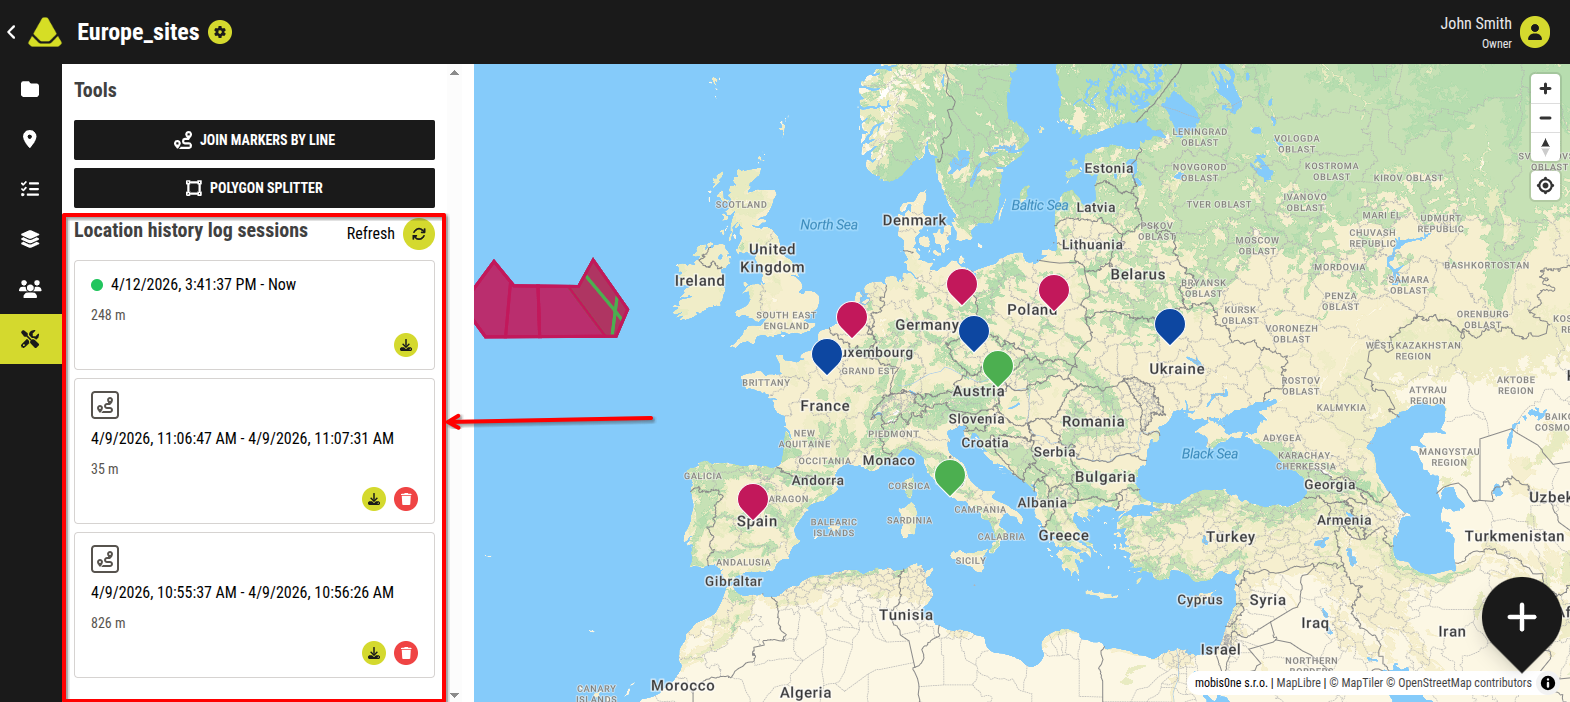
[Showcase of the Location history log session section]
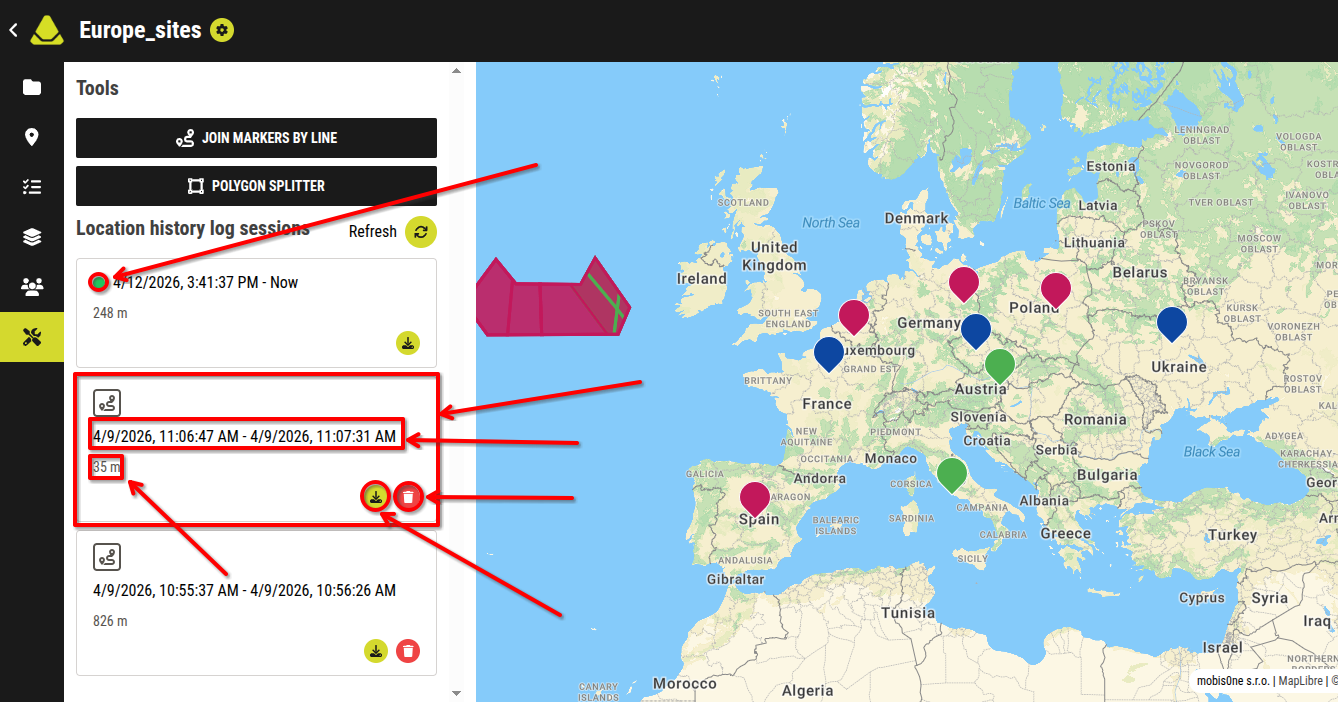
Each session is displayed as a box containing:
- the time range of the tracking session
- the total distance traveled
- a Download button
- a Delete button
Clicking on a session box displays the tracked path on the map map in blue lines and red points. The session box from which the data are currently displayed is highlited in black. It remains displayed untill the same session box is clicked upon again. Multiple tracked paths can be displayed on the map at once.
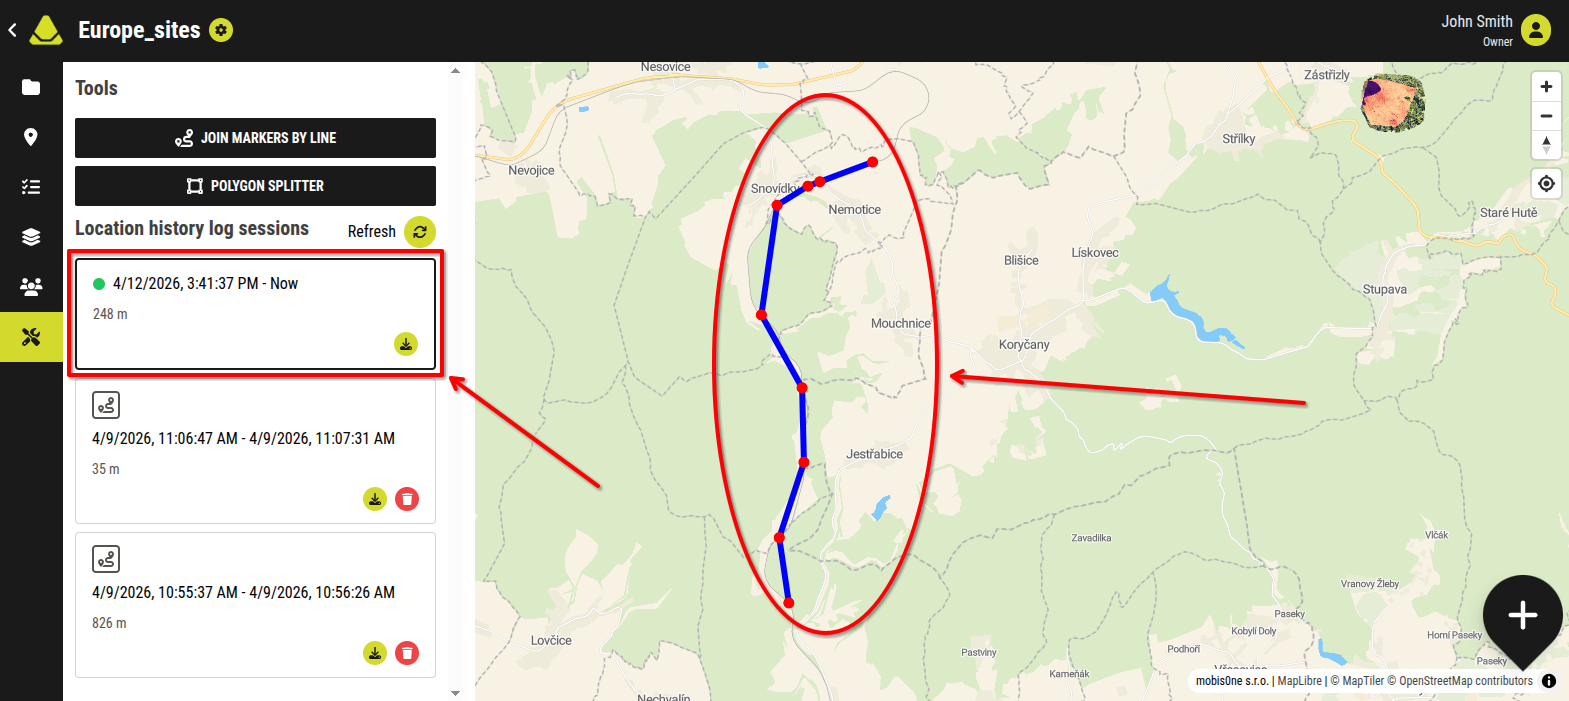
[An example of a displayed path from the Location history log sessions]
4.1. Download button
Clicking the Download button saves the tracked path data to your device as a GeoJSON file.
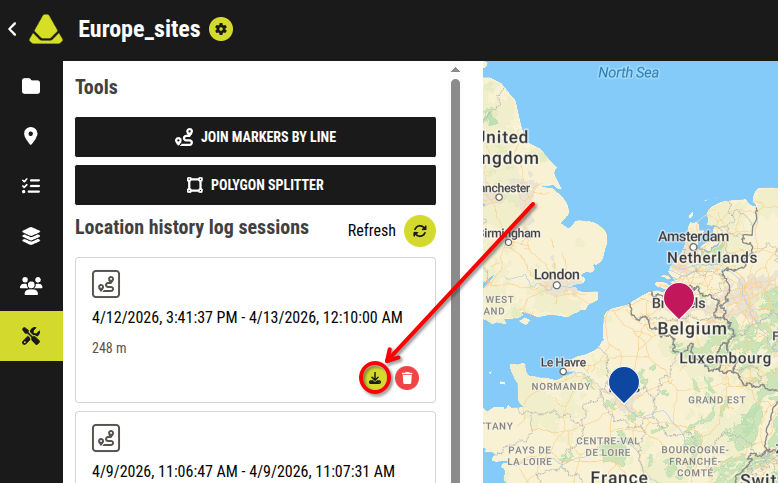
[Showcase of the Download button inside a session box from the Location history log sessions]
4.2. Delete button
Clicking the Delete button inside a session box deletes that session box from the Location history log sessions.
This action can not be undone.
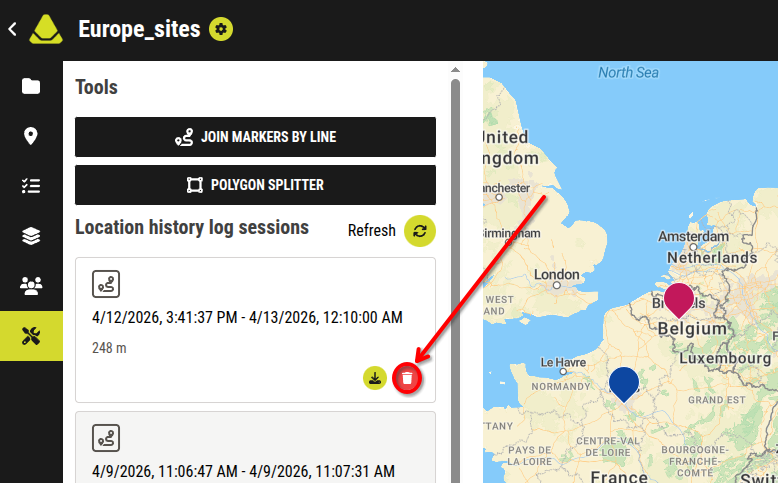
[Showcase of the Delete button inside a session box from the Location history log sessions]
4.3. Refresh button
At the top of the location history log sessions section, there is a Refresh button.
- It updates the displayed data
- Use it if new tracking sessions were created after opening the tab
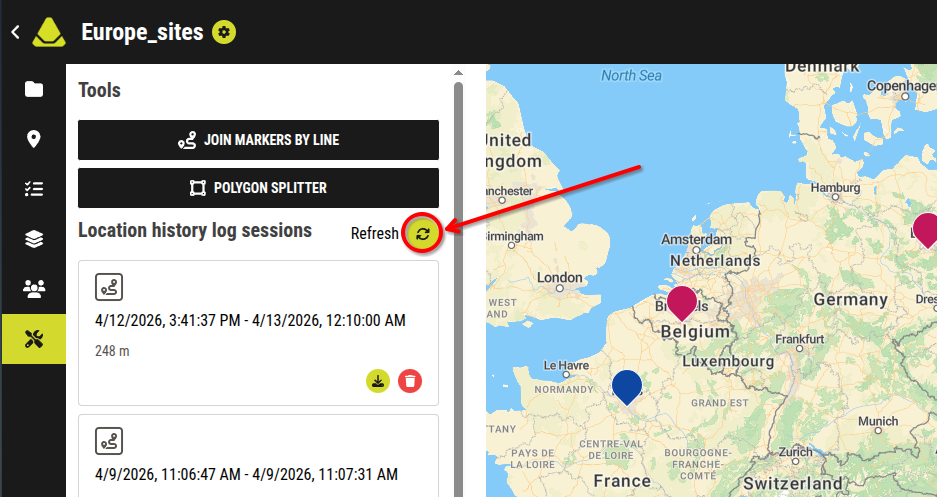
[Showcase of the Refresh button for the Location history log sessions]